Using the User Manager in Joomla 1.5
This tutorial will show you how to use the User Manager in Joomla 1.5
1) Click Site
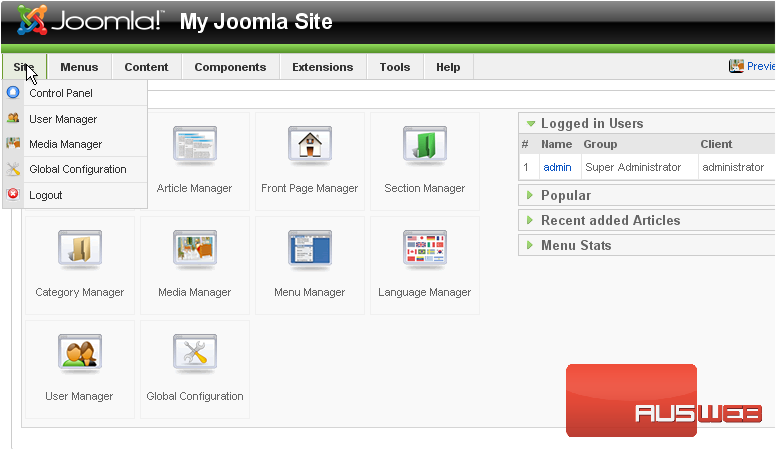
2) Then User Manager
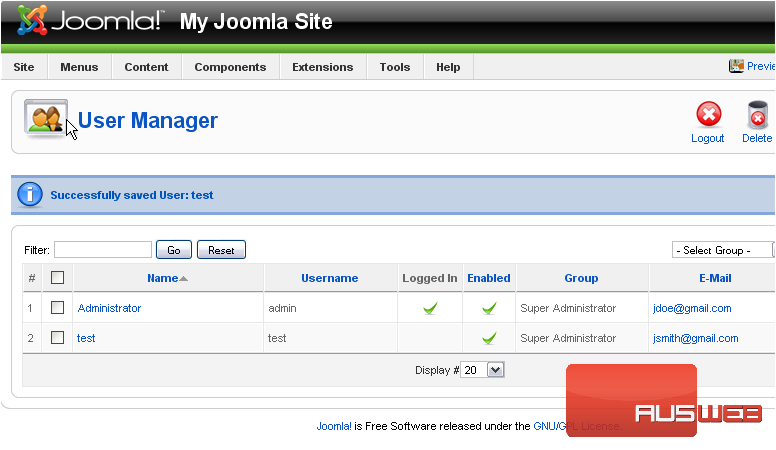
Here is the list of all the users that have registered for your site. Let’s see how to add a new user
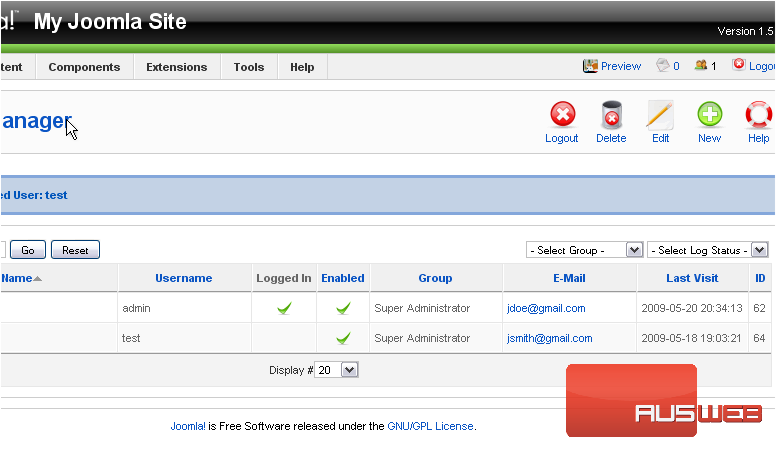
Scroll right
3) Click New
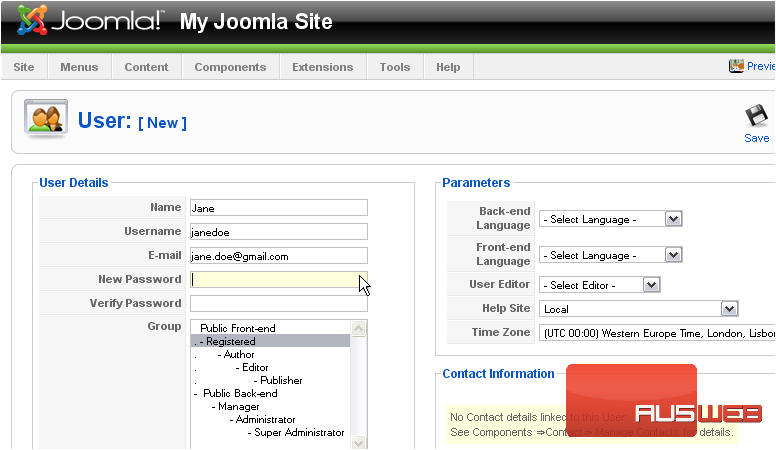
4) Type in a name for the new user
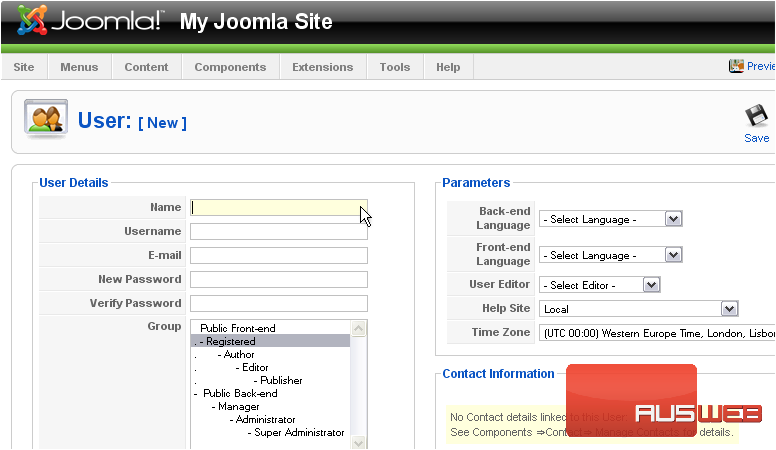
5) Enter a username

6) Type the user’s email address

7) Enter a password and verify it
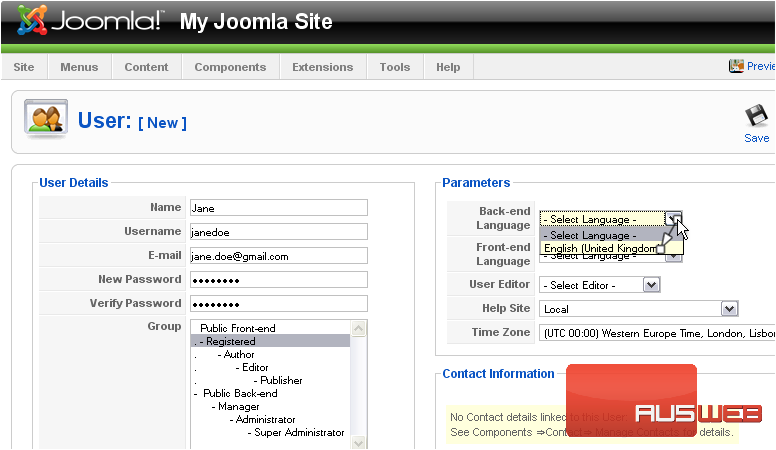
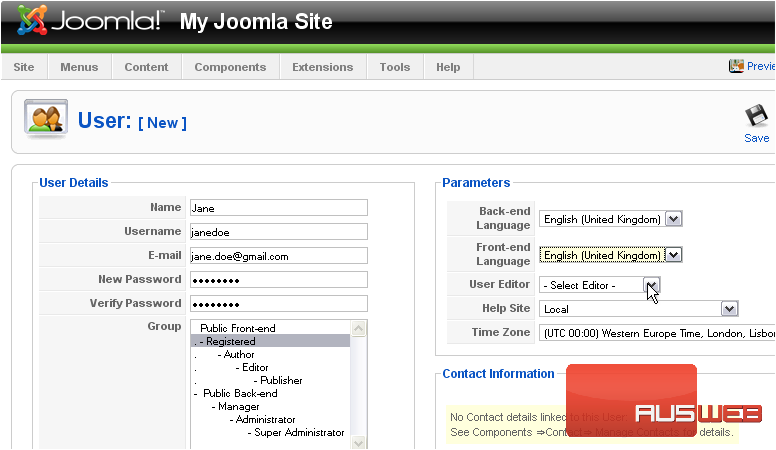
8) Set the back-end and front-end default languages
9) Click Save
Once a user has been created, you can edit it if needed
10) Click on the user’s name

11) Let’s change the user’s group
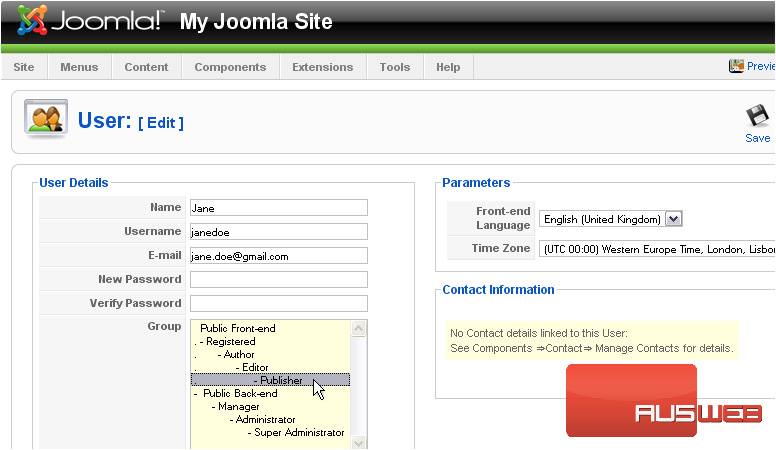
12) Click Save
Now let’s delete the user we just created
13) Click the checkbox next to the user
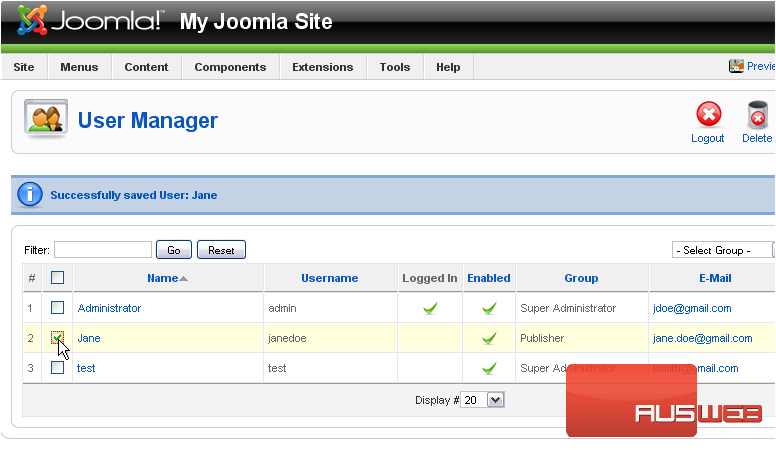
14) Click Delete
The last thing we’ll do is see how to force a user to logout
15) Select the user
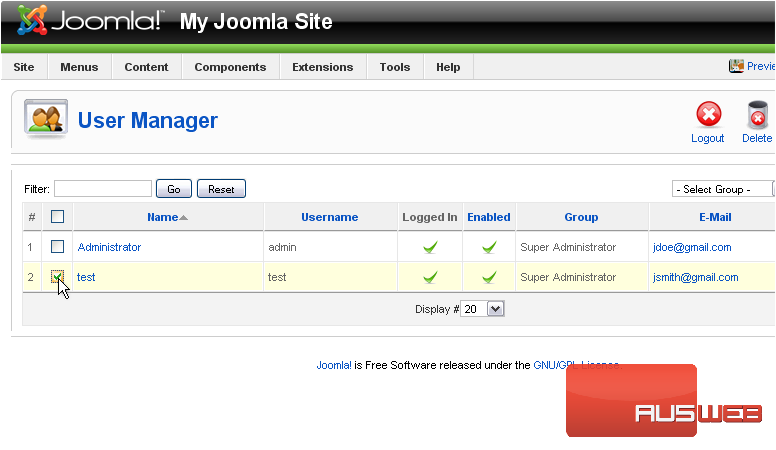
16) Click Logout

That’s it! You now know how to use the User Manager in Joomla
