How to use the File Manager in Plesk
This tutorial will show you How to use the File Manager in Plesk
The File Manager is used to upload, remove and organize all your website files.
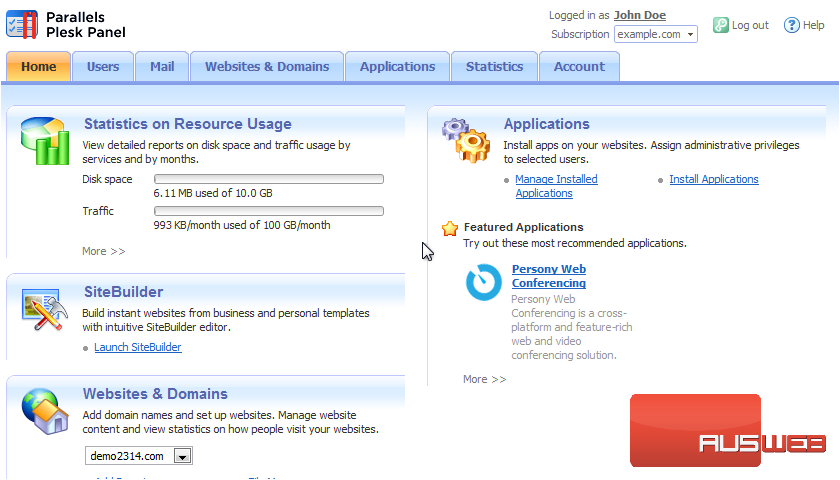
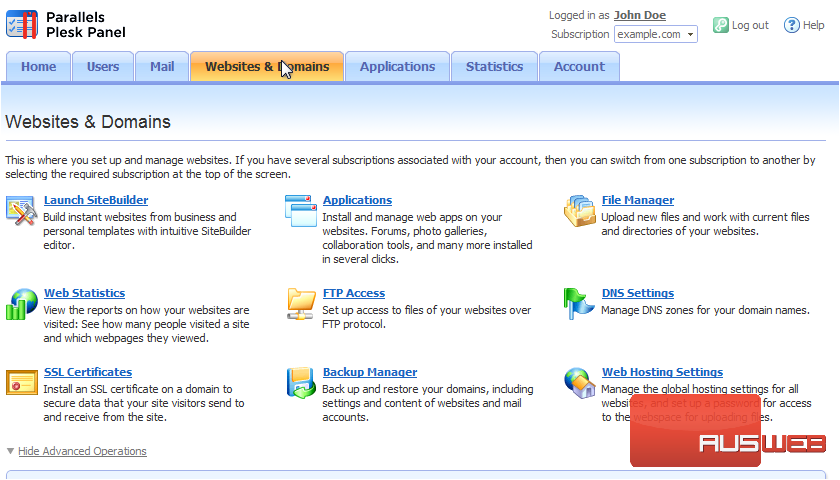
1) Click Websites & Domains.
2) Choose the File Manager.
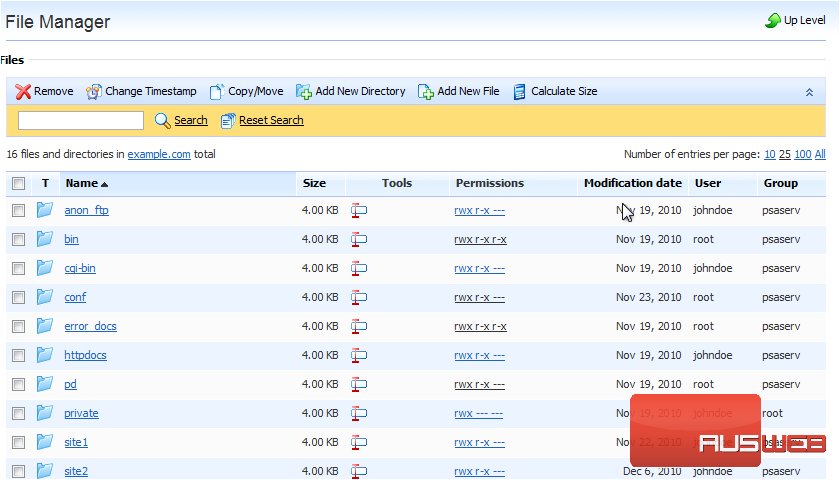
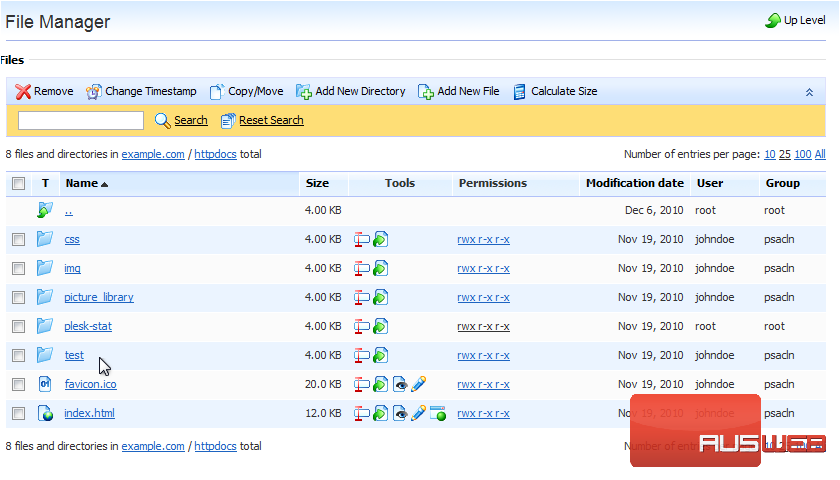
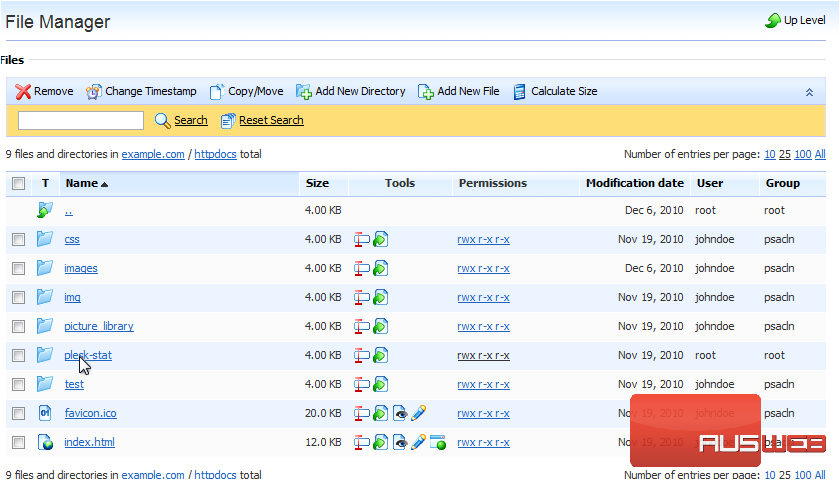
Your main website’s files are listed under httpdocs.
Let’s go through some of the basic functions that can be performed in the file manager.
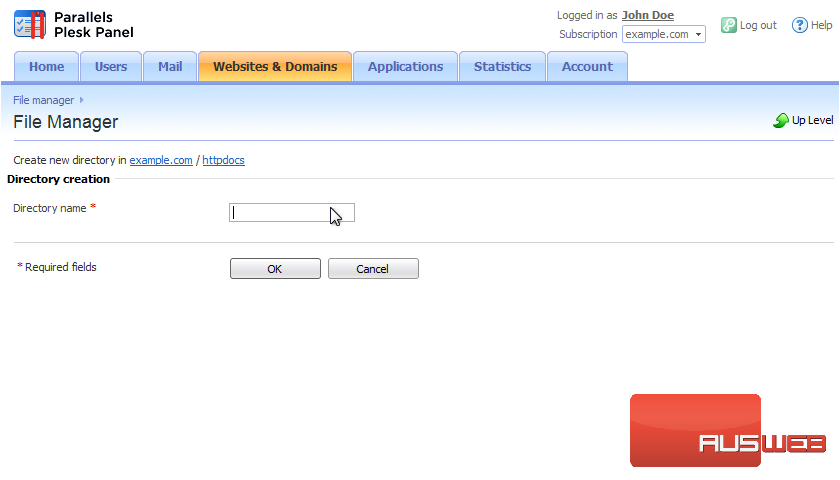
3) To create a new folder, click Add New Directory.
4) Type the Directory Name and click OK.
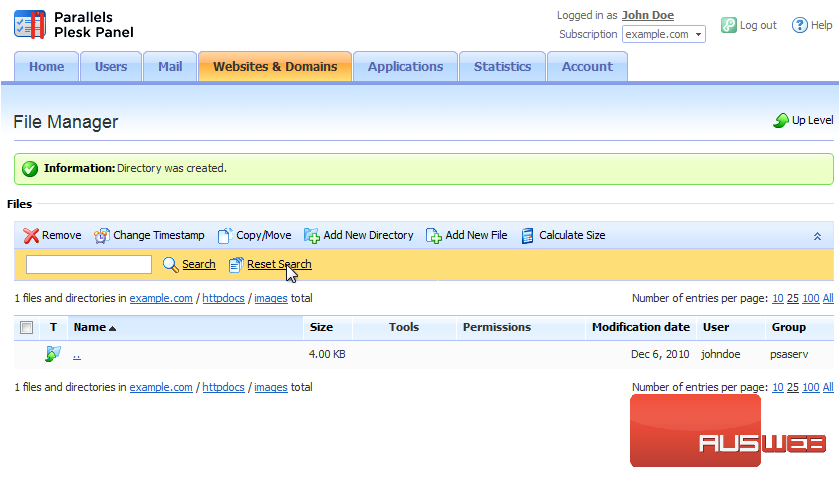
5) The directory has been successfully created, and we have been automatically redirected inside of it. Return to the parent directory.
6) Clicking a folder icon allows you to edit the folder.
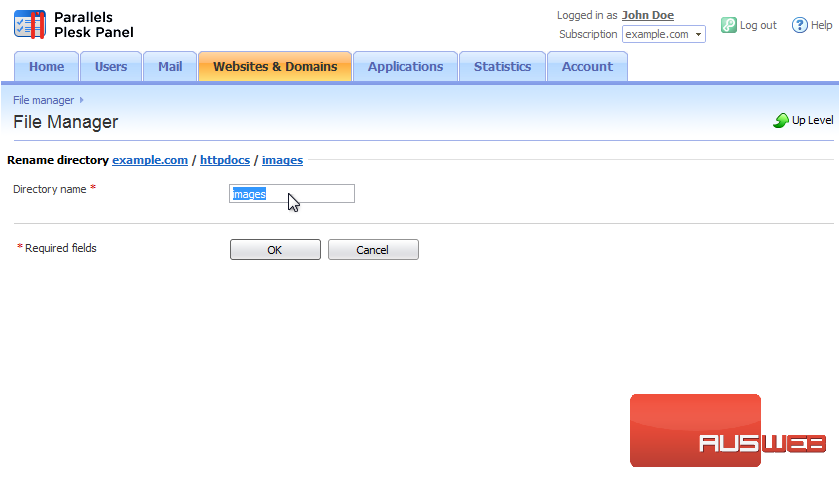
7) Set the new name, and click OK.
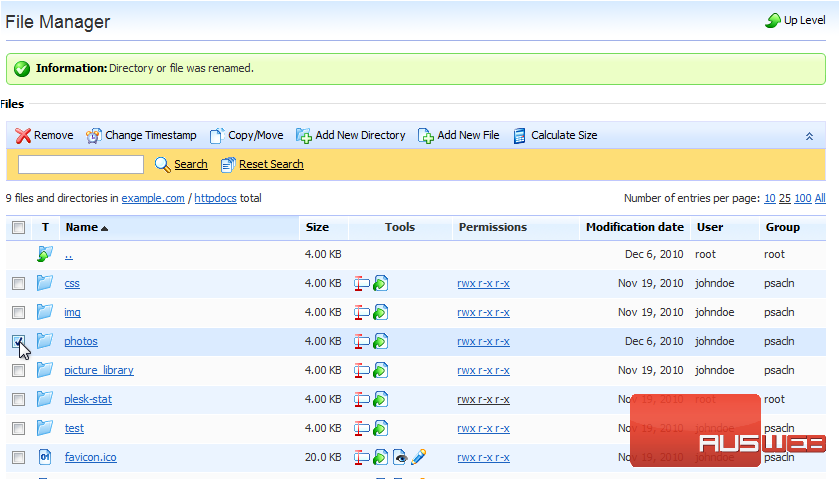
8) If you need to delete a directory, select the box next to it, then click Remove.
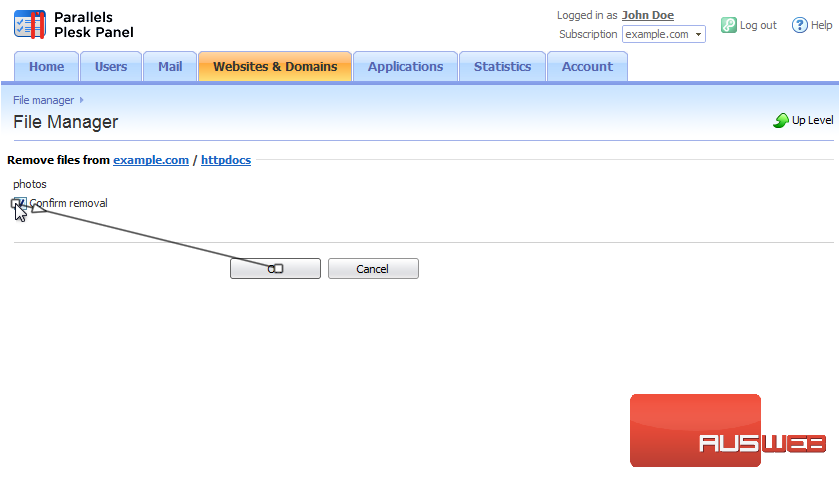
9) Check this box to confirm removal and click OK.
Now that you know how to add and remove directories, let’s see how to upload files.
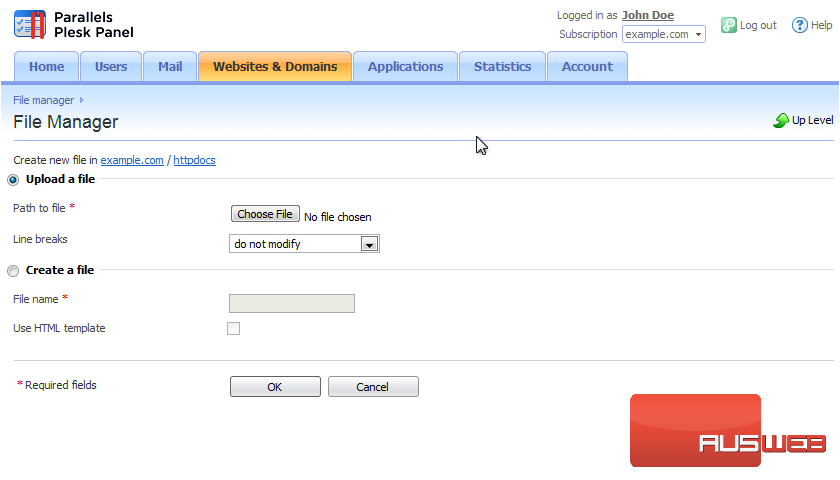
10) Click Add New File.
11) Select Upload a File to upload and Create a File to make a new file. Click Choose File.
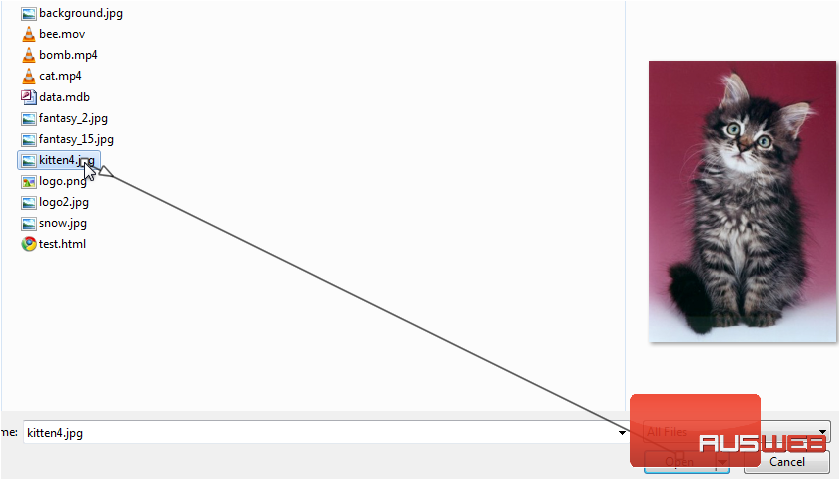
12) Browse for the file on your computer and click Open.
13) Now click OK.

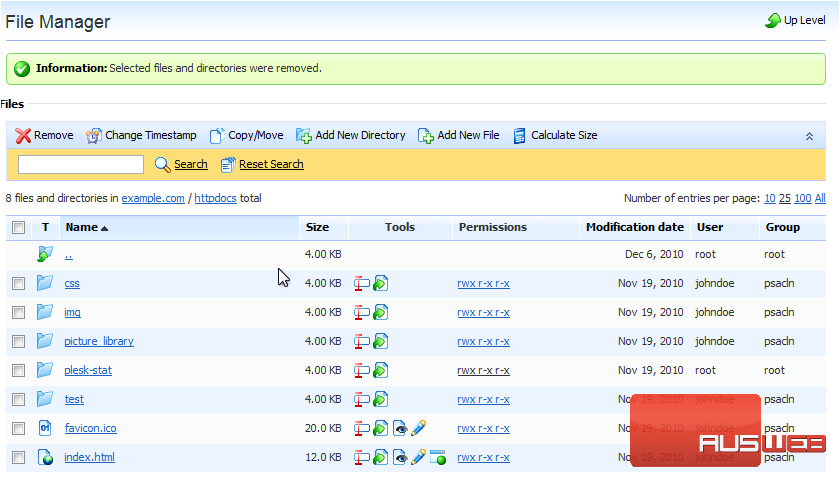
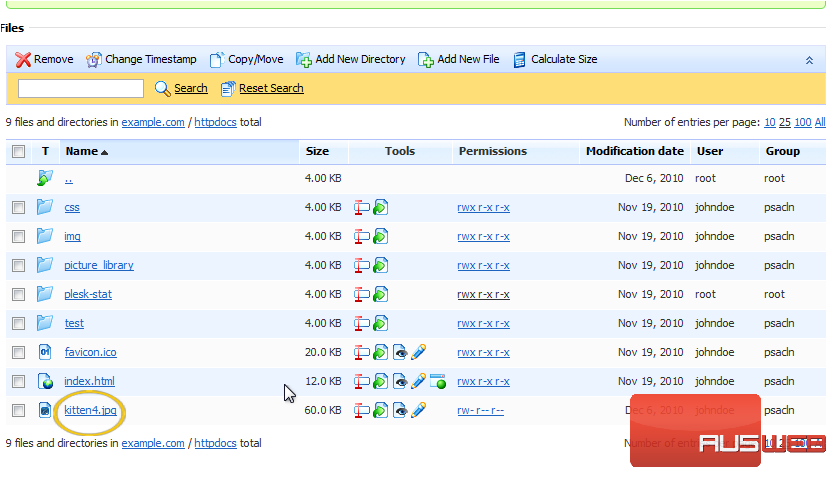
Here is the file we just uploaded. Use the icons next to it to view or edit the file. You can change the file permissions by clicking the link next to the file in the Permissions column.
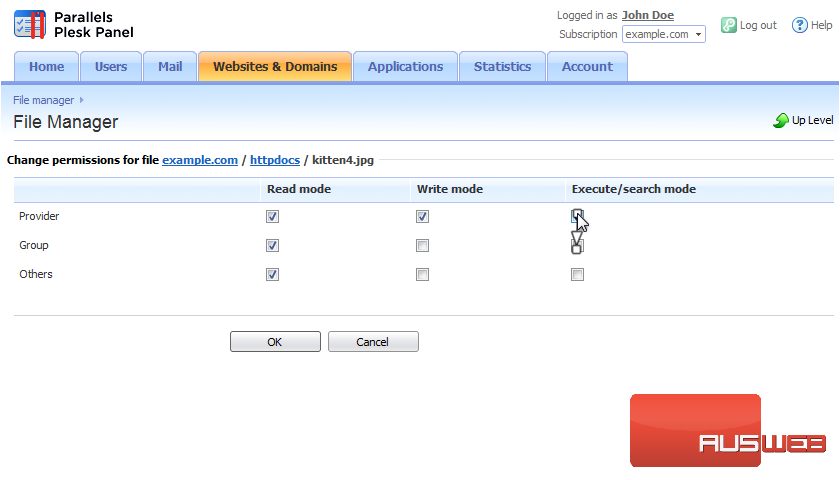
14) Set which groups of users will be able to read, write and execute this file, then click OK.
Deleting a file can be done the same way as removing a directory.
15) Simply select the file. Then click Remove.

16) Confirm and click OK.

You now know how to use the file manager to organize your website files in Plesk
