Setting up a POP email account in ThunderBird
This tutorial will show you the steps for setting up a POP email account in ThunderBird
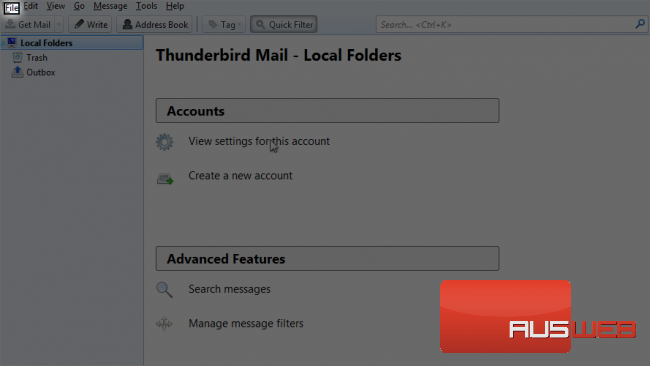
1) Let’s learn how to setup a pop email account in ThunderBird. Click the file menu to continue.
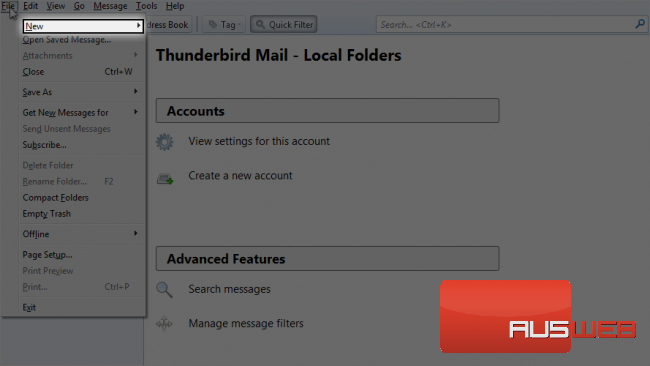
2) Please click on New.
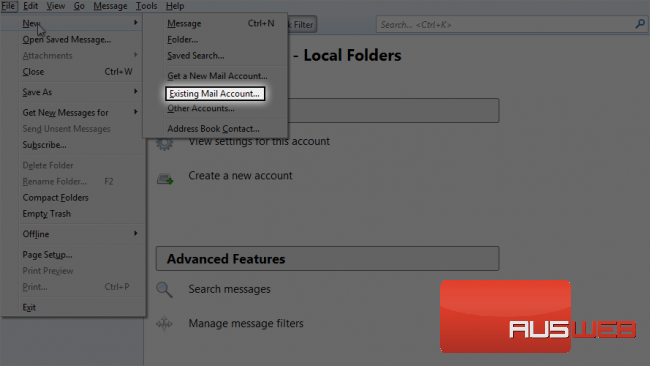
3) Click Existing Mail Account.
4) Please type your name.
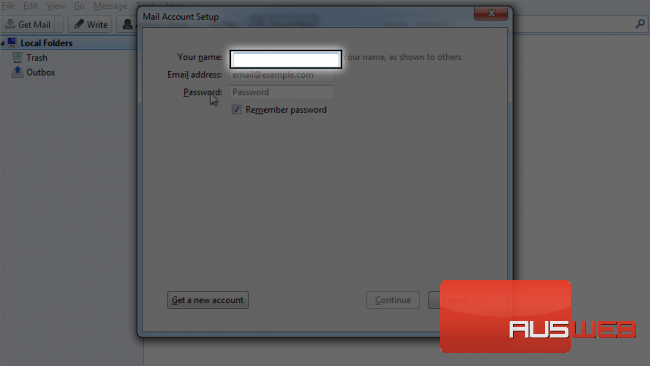
5) Type your email address.
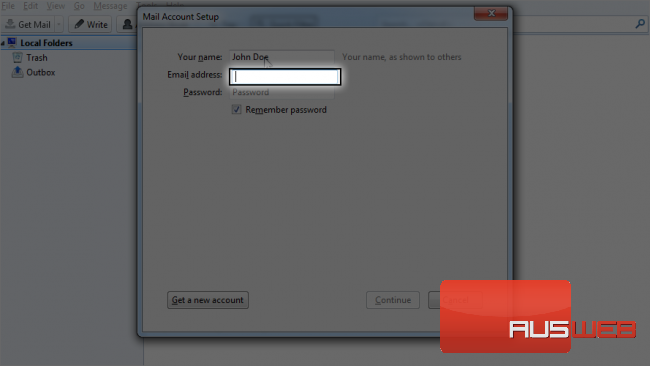
6) Select this option if you want to remember password.
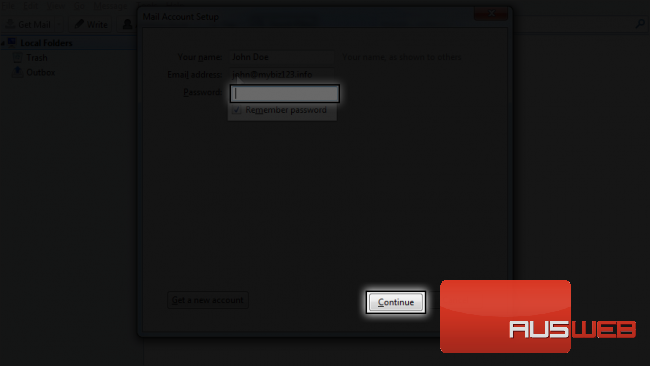
7) Type your password.
8) Click on continue.
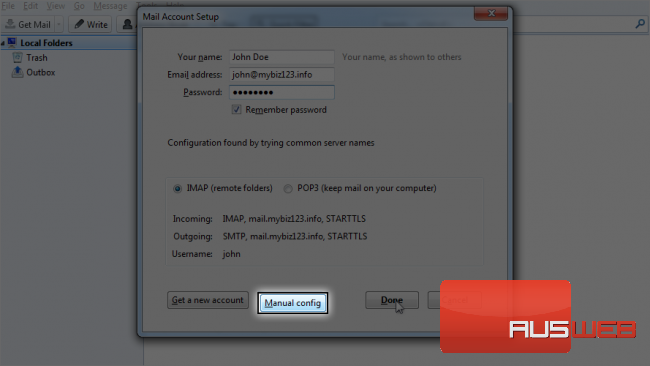
It will fill in settings automatically, but let’s choose manual config to choose the settings manually.
9) Click on Manual config.
10) Click here to select POP3 protocol.
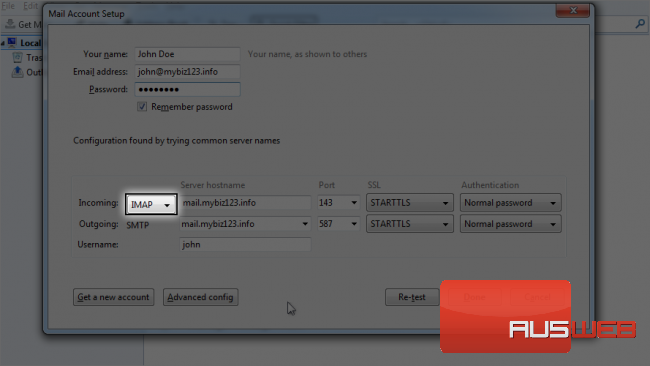
11) Select POP3.
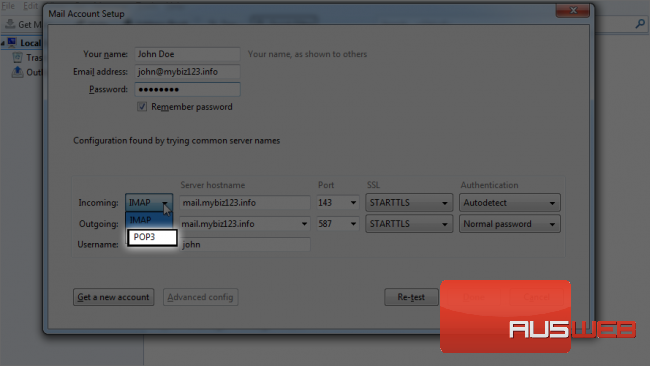
12) Under server hostname make sure it says mail.yourdomain.com or whatever hostname your web host supports.
The port for POP3 should be 110, which has been filled in already.
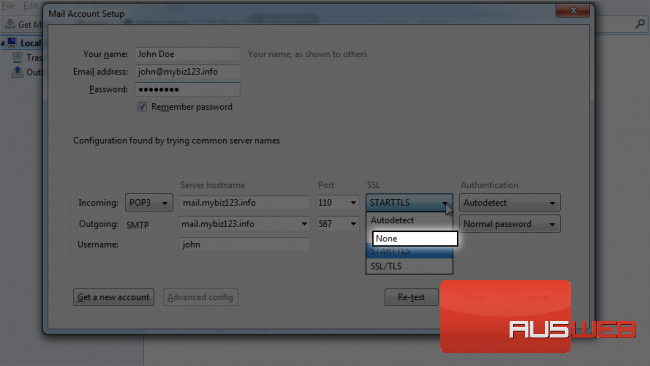
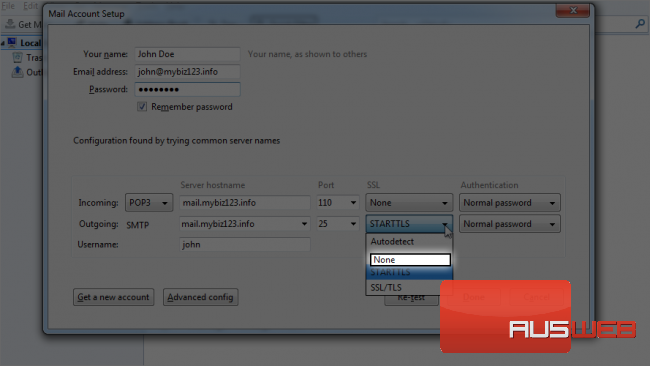
13) Later we will learn how to create an account with SSL, so lets deselect it from here.
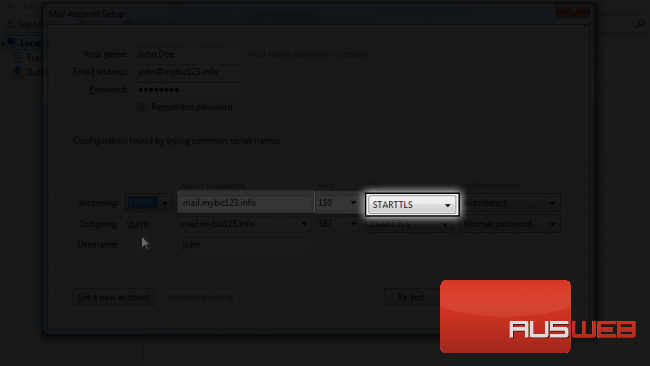
14) Select None from these options.
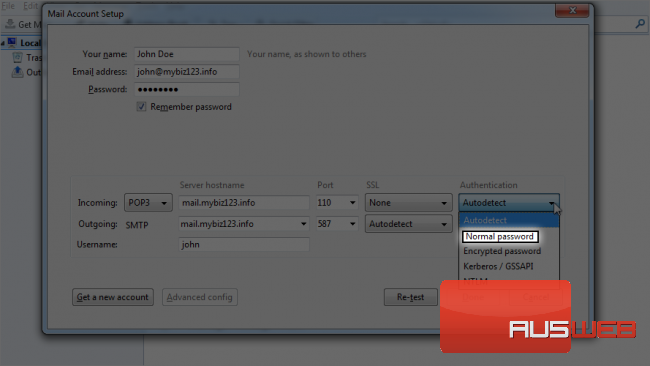
15) Authentication should be set to Normal Password. Let’s select it from drop down.
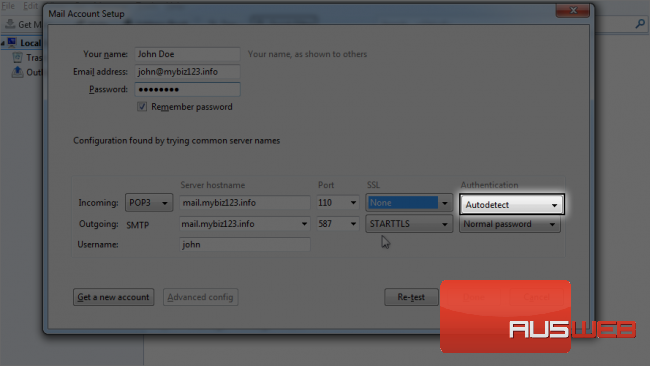
16) Click on Normal Password.
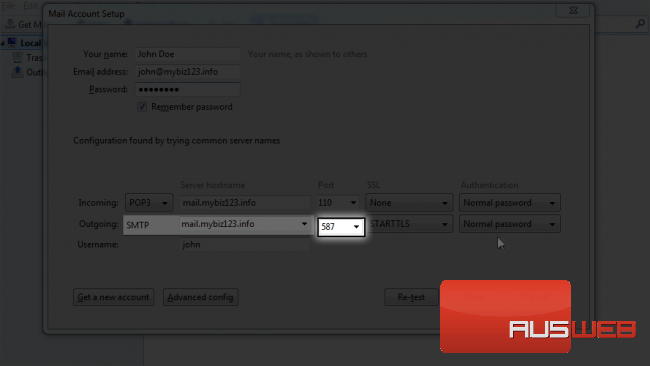
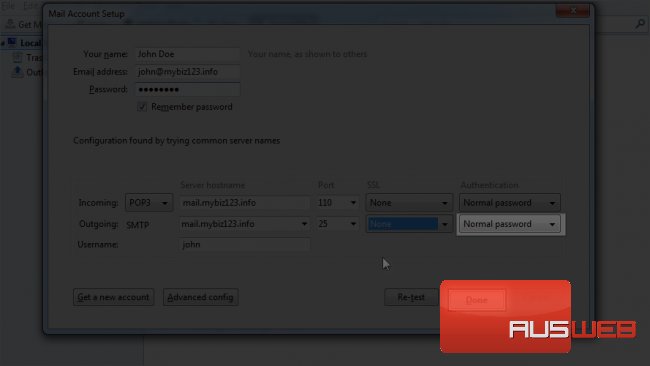
17) SMTP will be selected by default. Make sure the server hostname is mail.yourdomain.com.
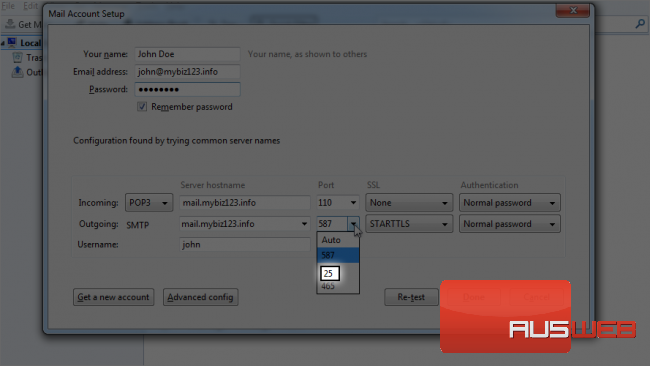
SMTP port should be 25. Let’s change it.
18) Select 25 from the list.
19) Later we will learn how to create an account with SSL, so lets deselect it from here.
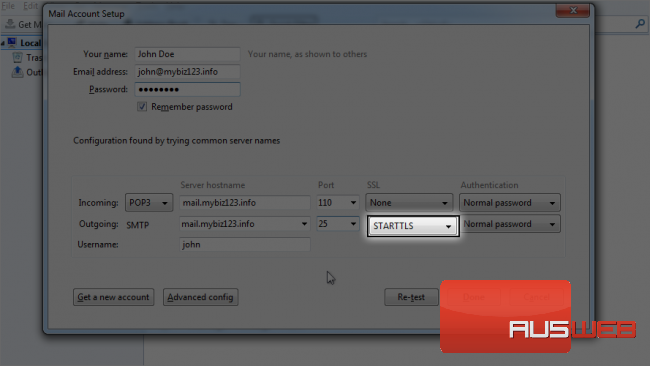
20) Select None from options.
21) Authentication should be set to Normal Password.
22) Click on Done to finish the setup.
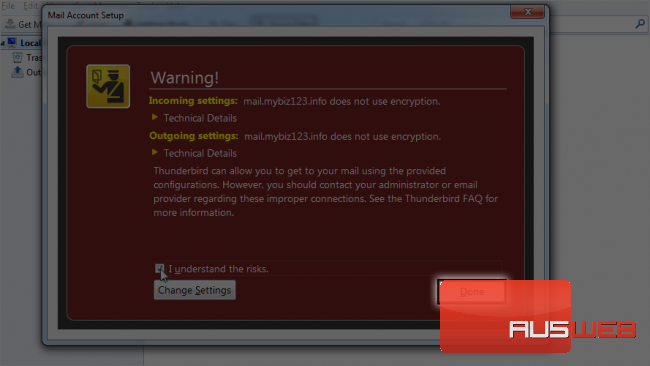
If you receive a warning like this one, since we are using a normal password, just continue by clicking on I understand the risks.

23) Click on Done to finish the setup.
Here is your newly created account!
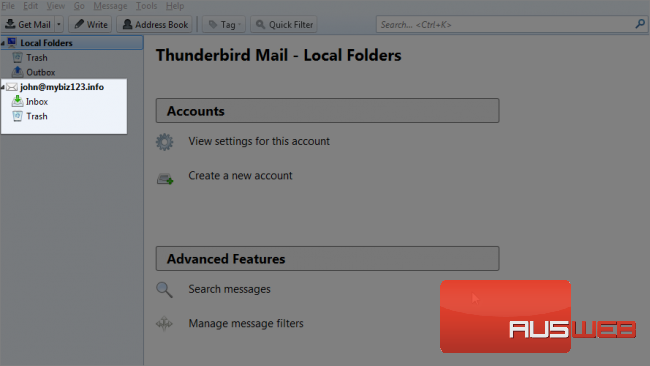
This is the end of the tutorial. Now you know how to configure a pop email account in ThunderBird.
