Setting Up an Email Account in Outlook 2013
 Before you can configure email software to send and receive emails from our servers, you must create an email account in your control panel.
Once you have done this, you can configure Microsoft Outlook 2013 to connect to the email account you created on our servers.
1/ Open Microsoft Outlook 2013
2/ Click File
3/ Click Info from the left side menu
4/ Click Account Settings
5/ Select the Account Settings… option from the drop down
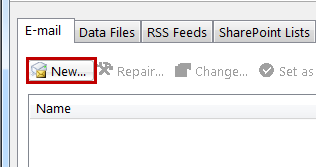
6/ Under the Email tab, click New
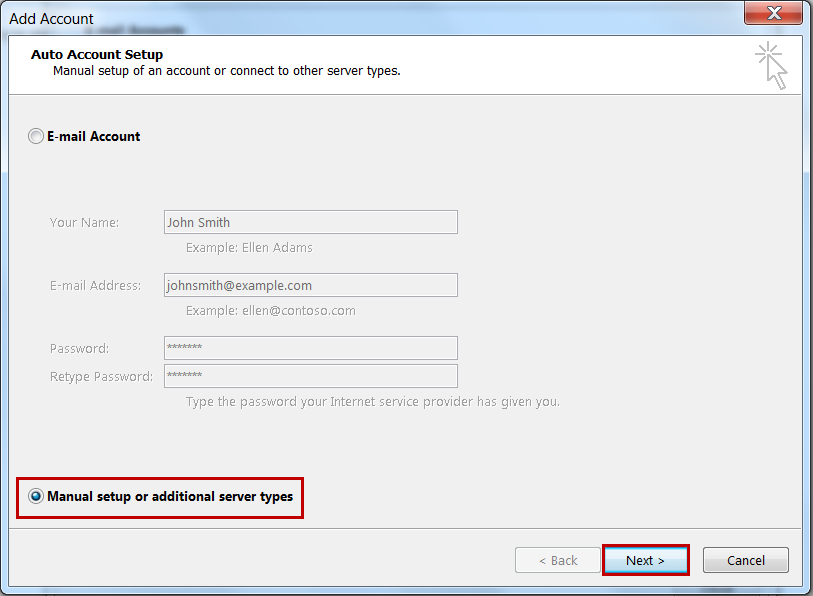
7/ Select the Manually configure server settings or additional server types radio option then click [Next]
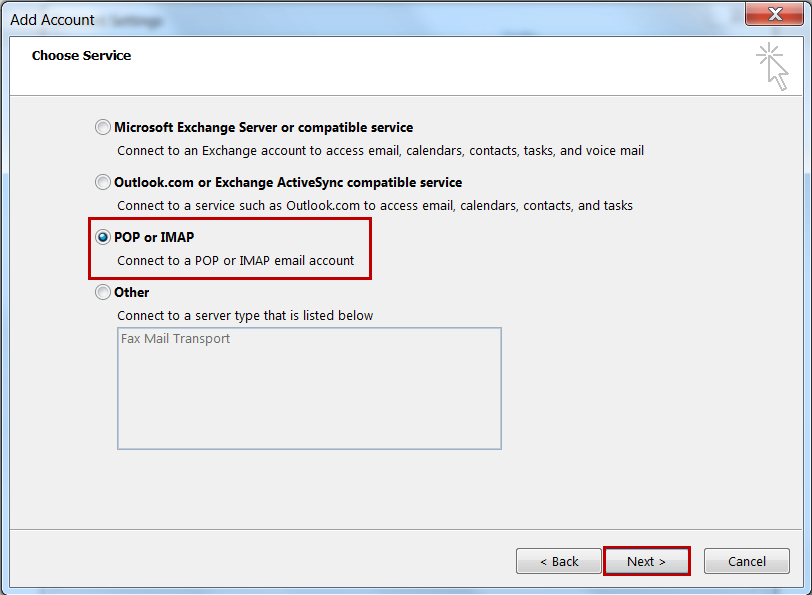
8/ Select the POP or IMAP option and click [Next]
9/ Complete the empty fields:
Your Name: The name you wish displayed when people receive your emails
Email Address: The email address you are sending email from
Account Type: Select POP3 or IMAP from the drop down
Note: Read our POP vs IMAP article for more information about the two types of protocols
Incoming mail server: mail.example.com where example.com is your domain name
Outgoing mail server: mail.example.com where example.com is your domain name or you can enter your Internet Service Provider’s (ISP) outgoing mail server
User Name: Your full email address. eg. [email protected]
Password: The password used for this email account
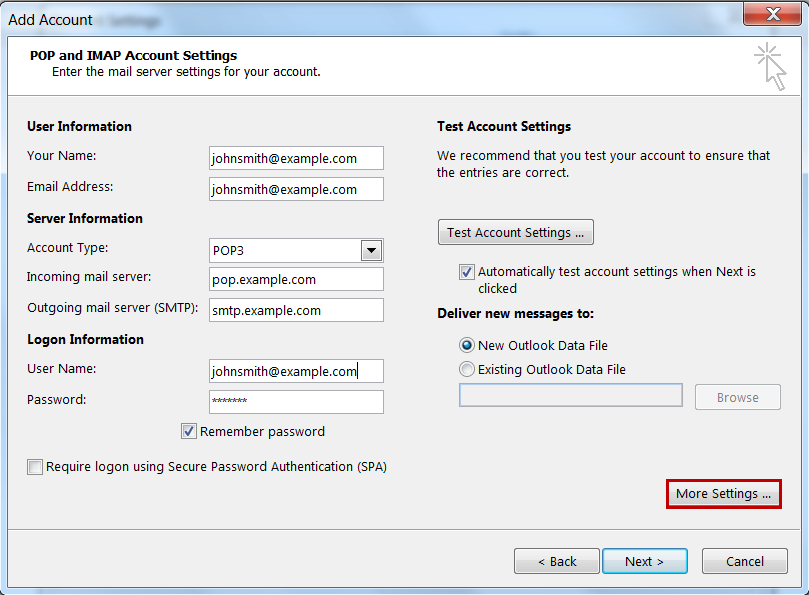
10/ Click [More Settings]
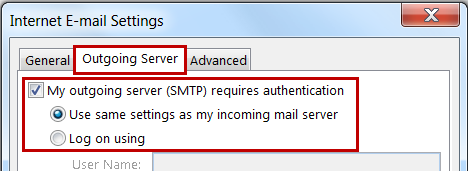
Select the Outgoing Server tab
Select My outgoing mail sever (SMTP) requires authentication and
Use same settings as incoming mail server
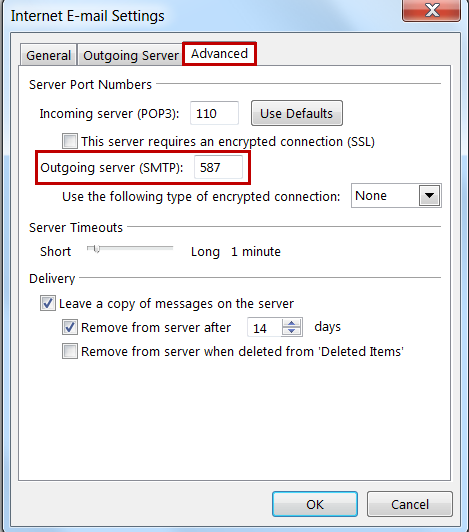
11/ Select the Advanced tab.
This server requires an encrypted connection (SSL) = Unselected
Change the Outgoing server (SMTP) number to 587
Use the following type of encrypted connection = None
12/ Click [OK]
13/ Click [Next] then [Finish]
