Selecting a different package for an account in WHM
This tutorial will show you the steps for selecting a different package for an account in WHM
Switching an account to a different package in WHM is easy, but it may be hard for you to find the link in the menu since it’s not named as you might think.
WHM refers to a package change as an Upgrade or Downgrade.
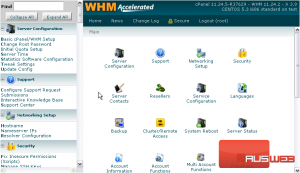
1) Locate the Account Functions menu.
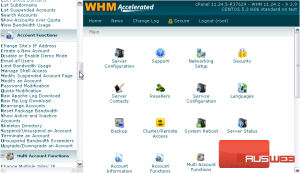
2) Click Upgrade/ Downgrade an Account.
3) Select an account from the list using its main domain or username, or search for an account below.
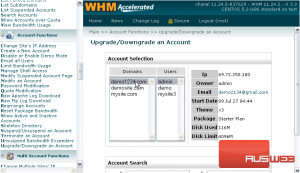
4) Click Modify.
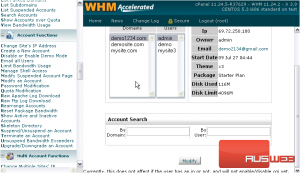
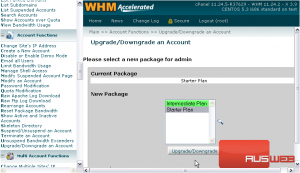
This account’s current package is indicated up here, and is selected by default in the New Package menu below.
As the legend at the bottom indicates, packages in green can be selected, while packages in red cannot.

5) Select a new package from the list.
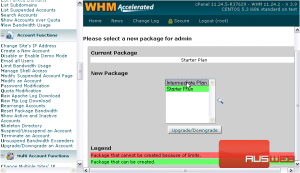
6) Click Upgrade/ Downgrade.
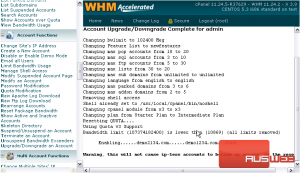
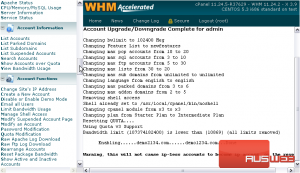
The account’s package has been changed successfully. You’ll see a list of all the changes WHM has made below.
There is another way to get to the package change form.
7) Scroll up slightly in the menu.
8) Go to List Accounts.
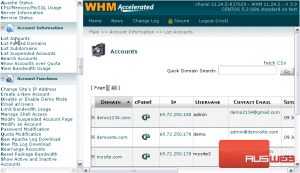
9) Hover over the account’s row in the table and scroll right.
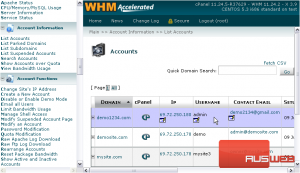
10) As you can see here, there is an edit button beneath the Package name. Clicking this link will transfer you to the page where we just were.

This is the end of the tutorial. You now know how to choose a different package for an account in WHM.
