Multi Account Functions in WHM
This tutorial will show you how to work with the Multi Account Functions in WHM
For your convenience, WHM provides you with the time-saving ability to perform some actions on multiple accounts at once.
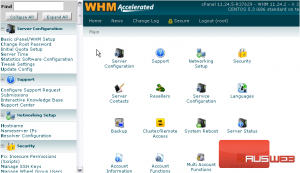
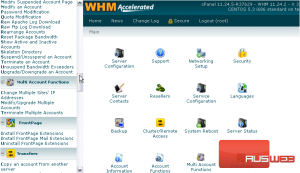
1) You can find these tools under Multi Account Functions.
2) First, let’s see how to Change Multiple Sites’ IP Addresses.
3) Select all accounts whose IPs you wish to change.
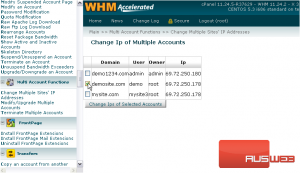
4) Then, click Change IPs of Selected Accounts.

If you’ve changed a single site’s IP address, this should look familiar. The procedure is exactly the same.
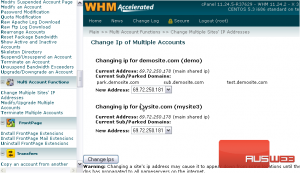
5) Simply use the drop-down menu under each account to select a new IP address.
6) Then, click Change IPs.
Watch the tutorial earlier in this series if you want more details.
7) Now, let’s check out the next function in the menu.
This feature lets you modify aspects of multiple accounts at the same time.
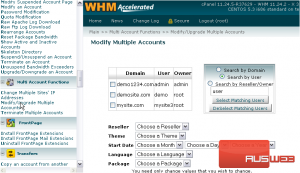
8) Select each account using its respective checkbox.
9) Or, use the search box at right to automatically select or deselect all accounts matching your specifications.
10) Select by which setting you wish to search.
11) Then, fill in a search term.
12) Hit either Select or DeSelect Matching Users.
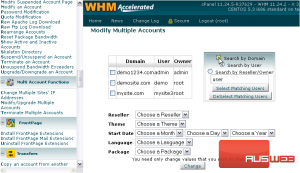
The two matching users have been selected for us automatically.

13) Now, for the settings. Choose only those values that you wish to change for these accounts. All accounts’ settings will be changed to the values you specify below.
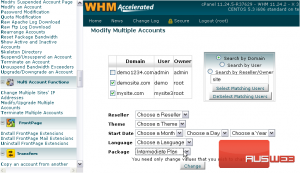
14) Let’s set these two accounts to use a new package. Select one from the list.
When changing packages on accounts, you should note that all accounts will be reset to the base settings of the package — even if an account already uses that particular package.
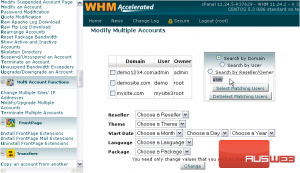
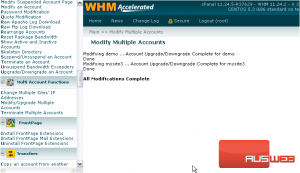
15) Click the Change button to apply all changed settings to the selected accounts.
All modifications to both accounts are now complete.
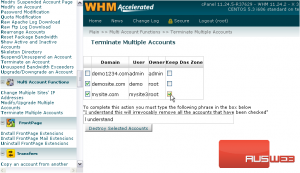
16) Now, let’s go to the last page: Terminate Multiple Accounts.

17) Check the box next to all the accounts in the list you want to terminate.

18) Optionally, use these checkboxes to keep the DNS Zones for the terminated accounts.