Manage customers in Magento
This tutorial will show you how to manage customers in Magento
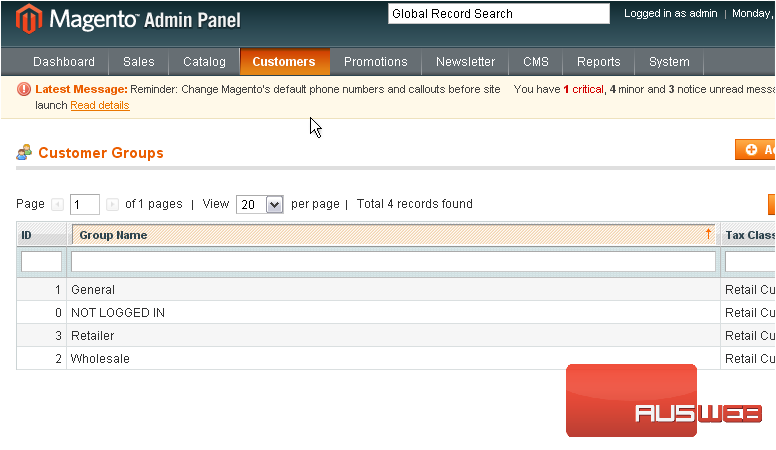
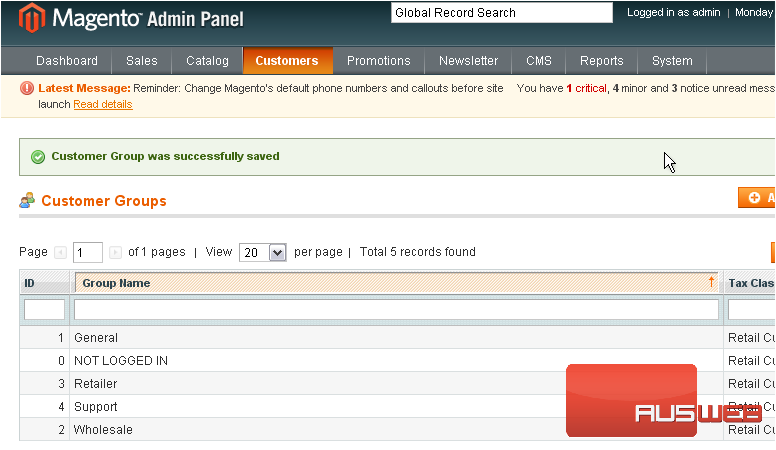
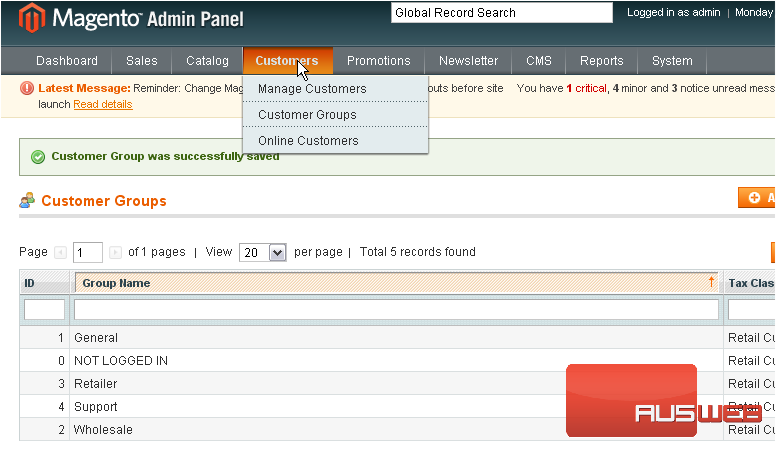
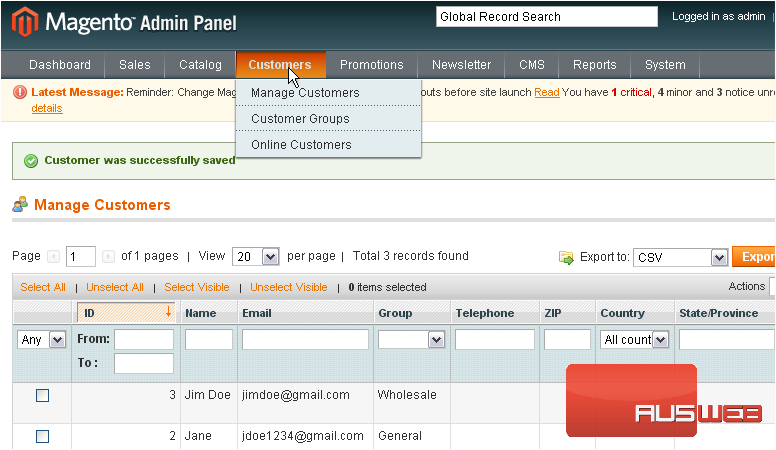
1) Go to Customers… then Customer Groups

This is where you can view all the customer groups that have been added
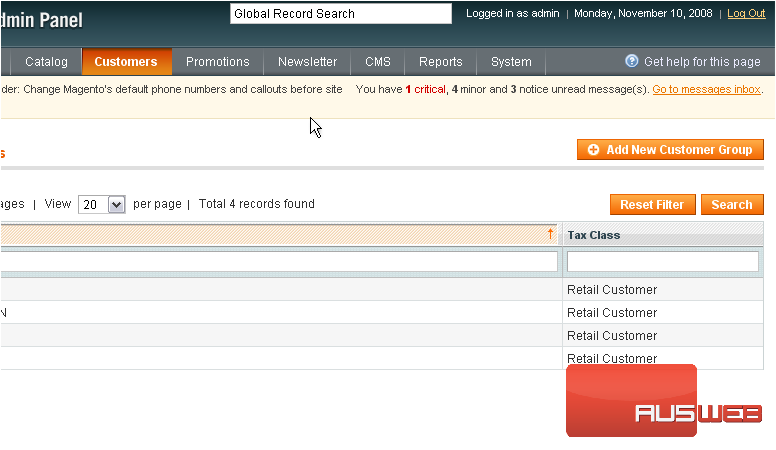
2) Click this button to add another group
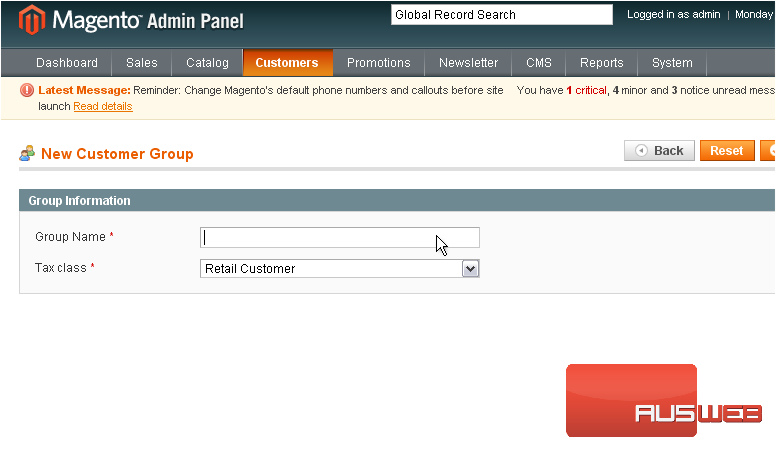
3) Enter a name for the new group
4) Click Save Customer Group
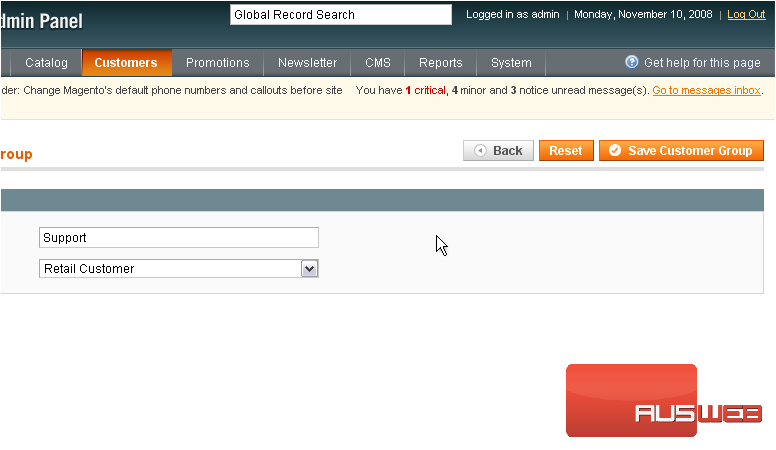
The new group has been saved successfully and now shows up in the list below
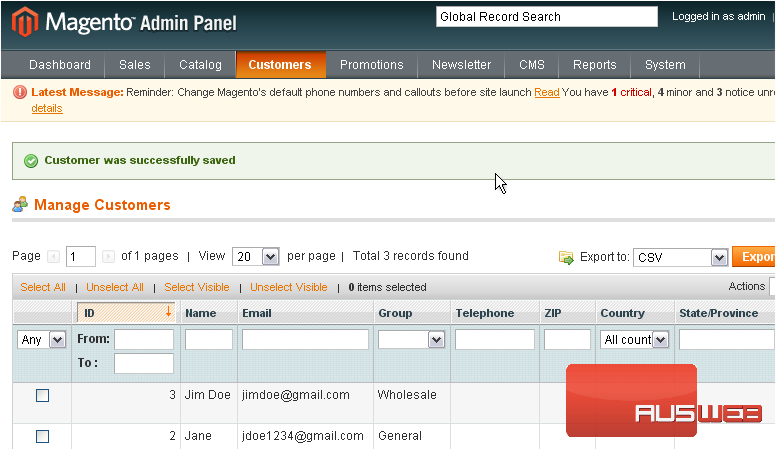
5) To add an existing customer to one of the groups below, go to the Customers menu… then select Manage Customers
6) Choose a customer
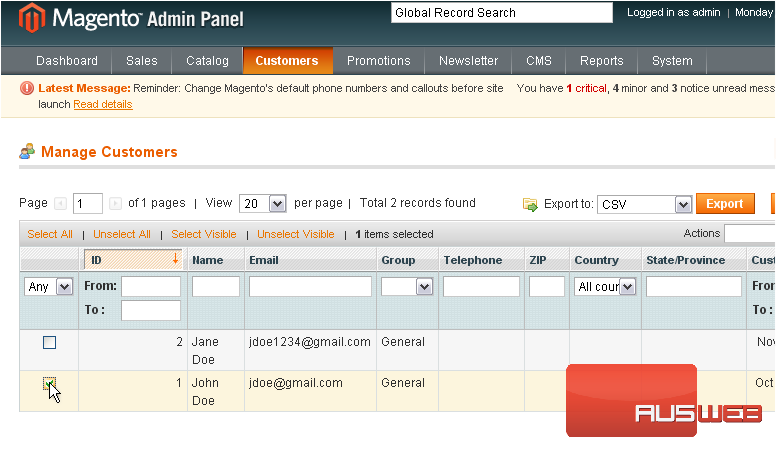
7) Select Assign a customer group from the actions list
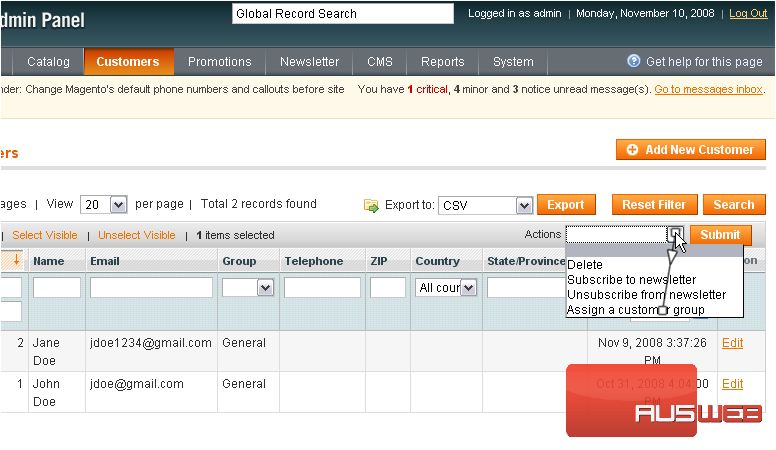
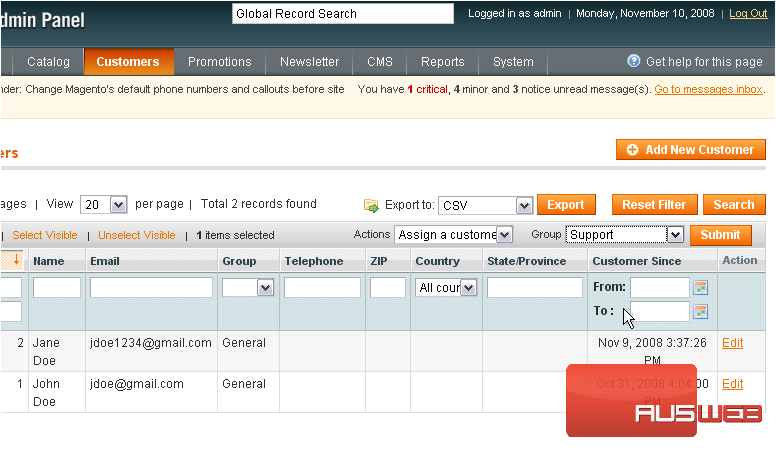
8) Now, choose a group
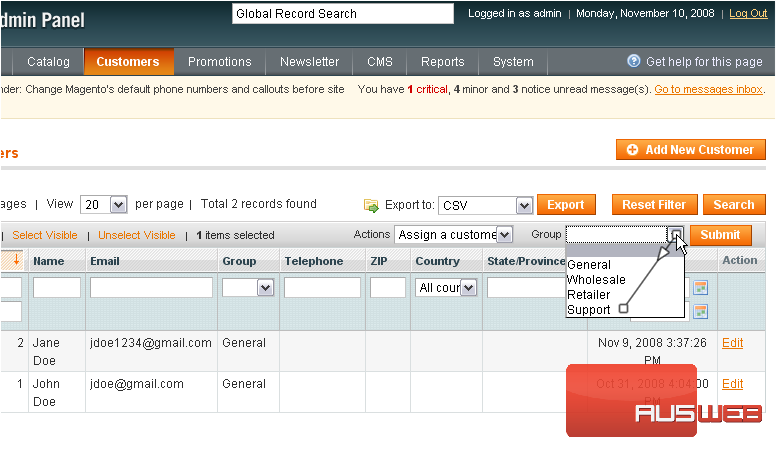
9) Click Submit
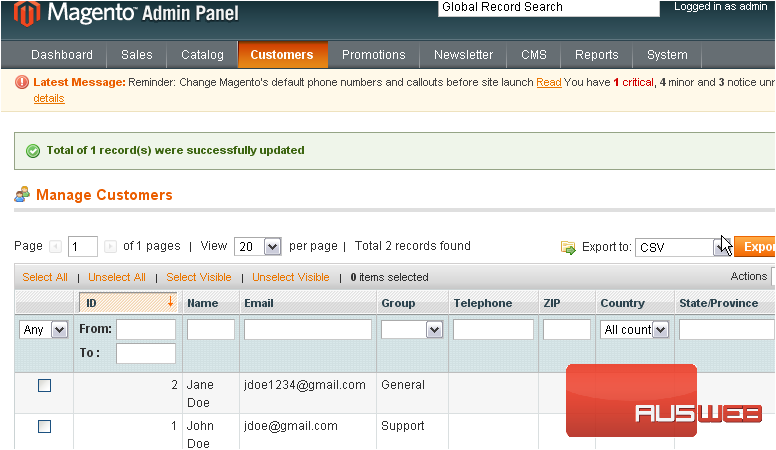
The selected customer has been added to the group
10) To add a new customer, scroll right
11) Click this button
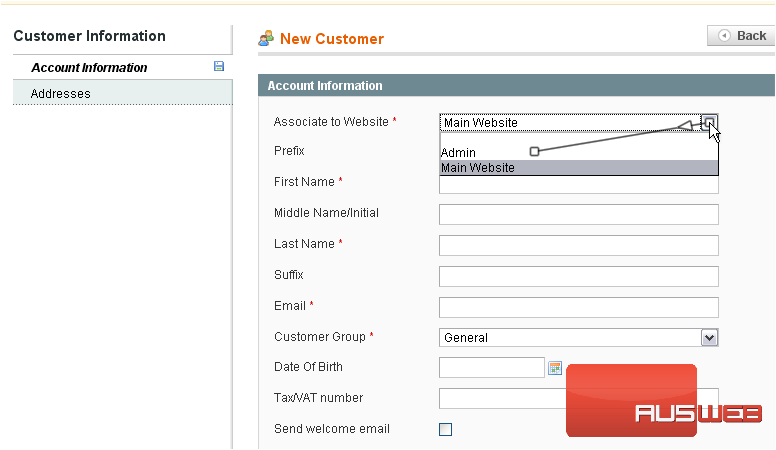
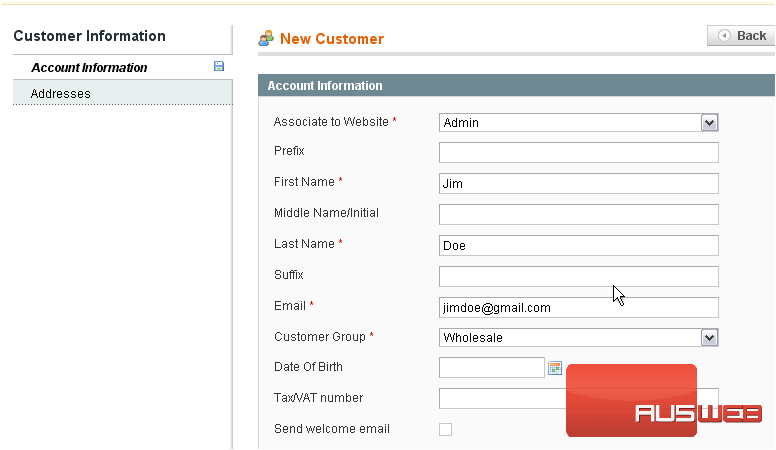
12) Select whether the new customer has access to the admin panel or only the store
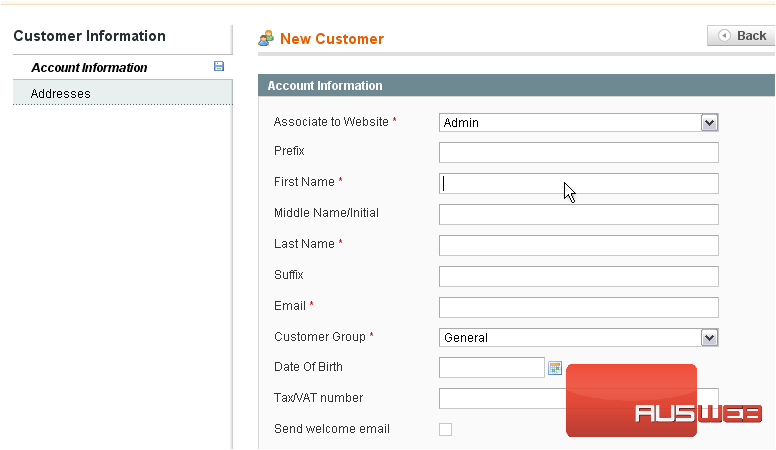
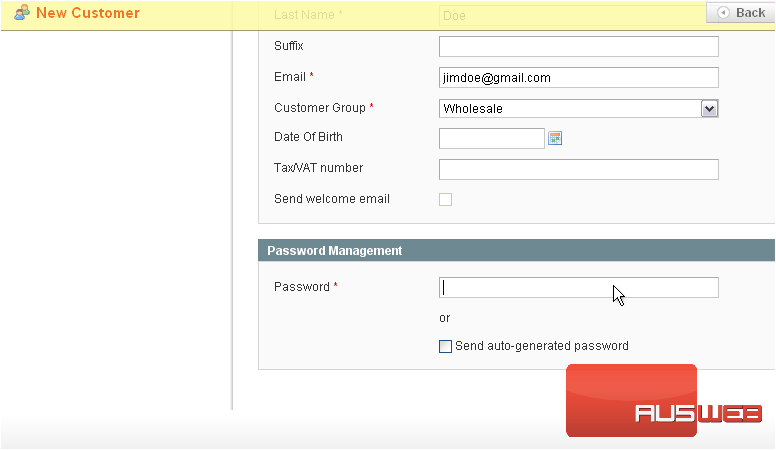
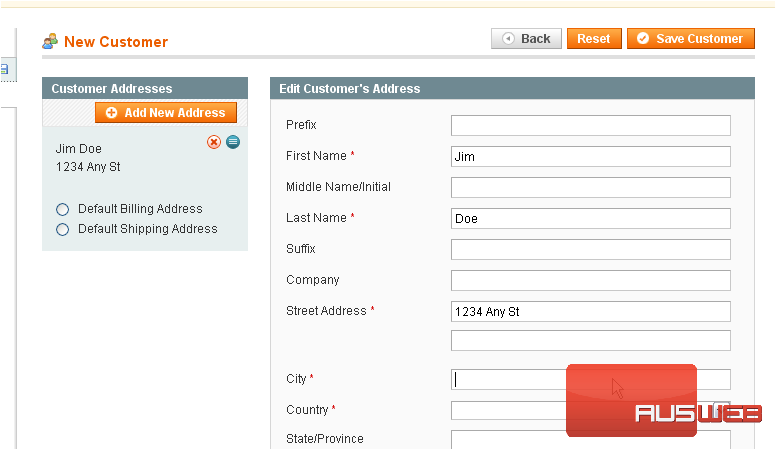
13) Enter the customer’s first name
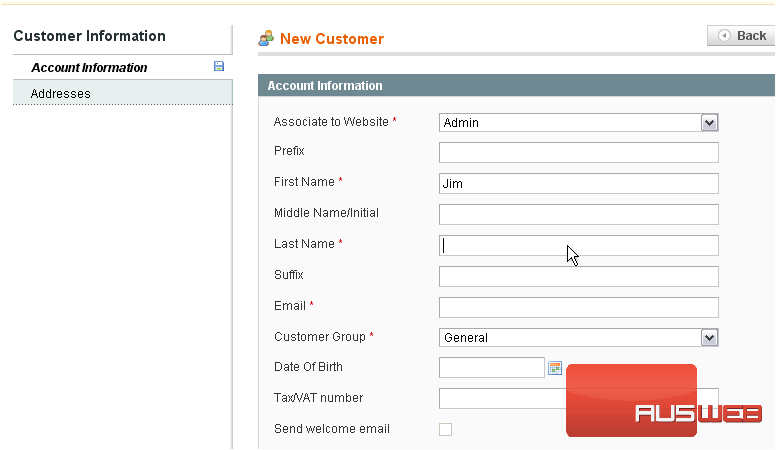
14) Enter the last name
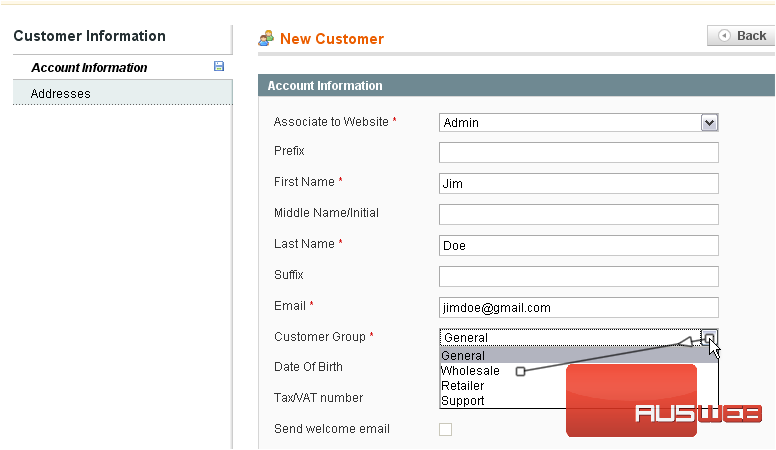
15) Enter the customer’s email address

16) Select the customer group
17) Enter a password for this customer
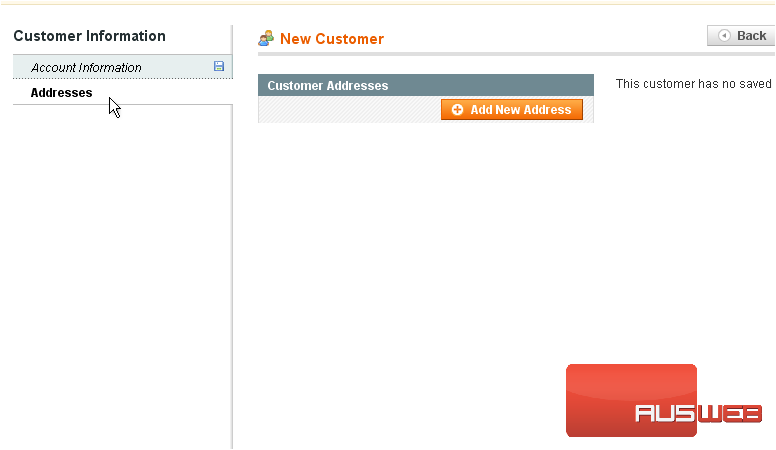
18) Go to Addresses
19) Add a new address for this customer by clicking this button
20) Enter the street address
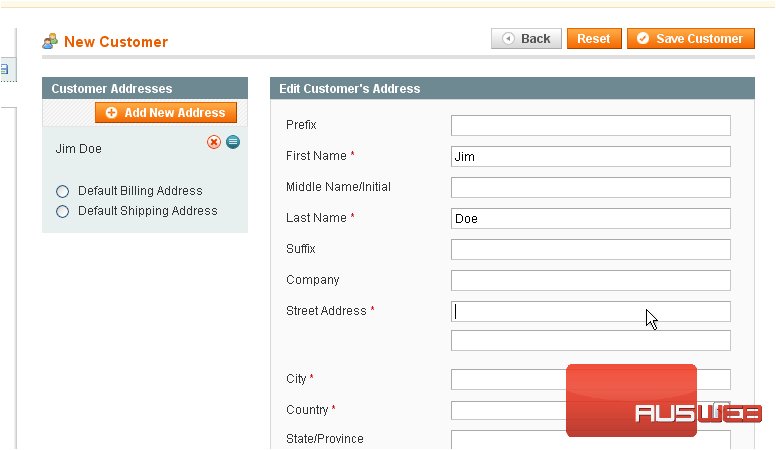
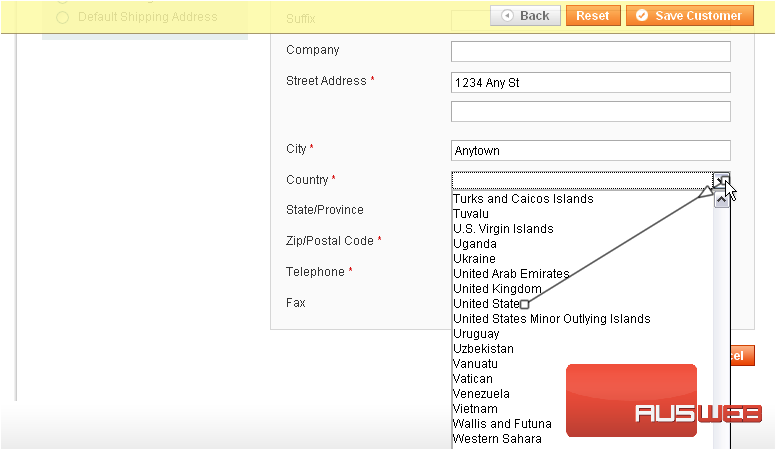
21) Enter the city
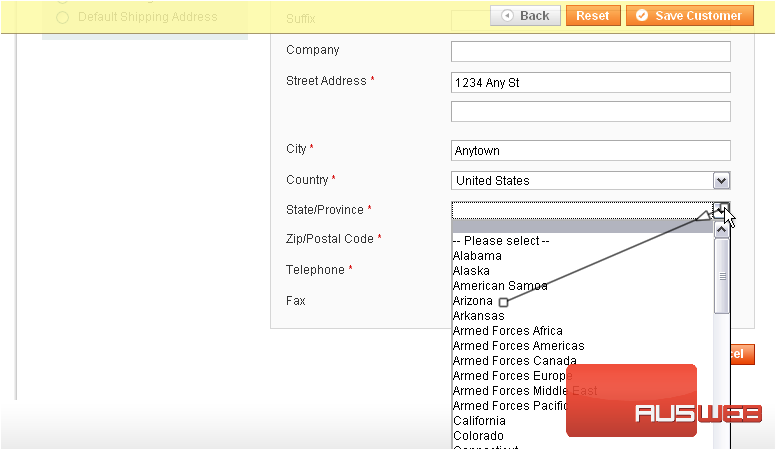
22) Select the country
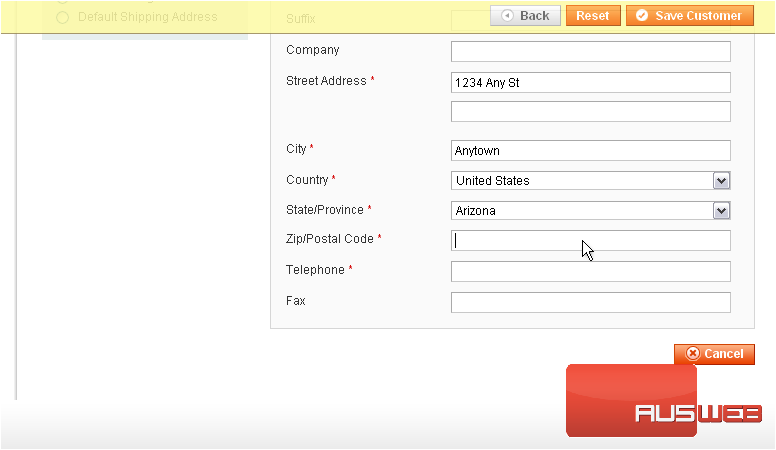
23) Choose the state or province
24) Enter the ZIP code
25) Enter the telephone number

26) Click Save Customer
The customer has been saved and added to the list below
27) To view a list of the online customers, go to Customers… then Online Customers
This page shows the customers online, when they were last active, and other information
This is the end of the tutorial. You now know how to manage customers in Magento Commerce
