Enable caching in Joomla
This tutorial will show you how to enable caching in Joomla
Caching is a method programs use to speed up processing time by saving frequently used and infrequently changing content to the hard drive
This tutorial assumes you are already logged in to your Joomla admin panel
1) Click Site
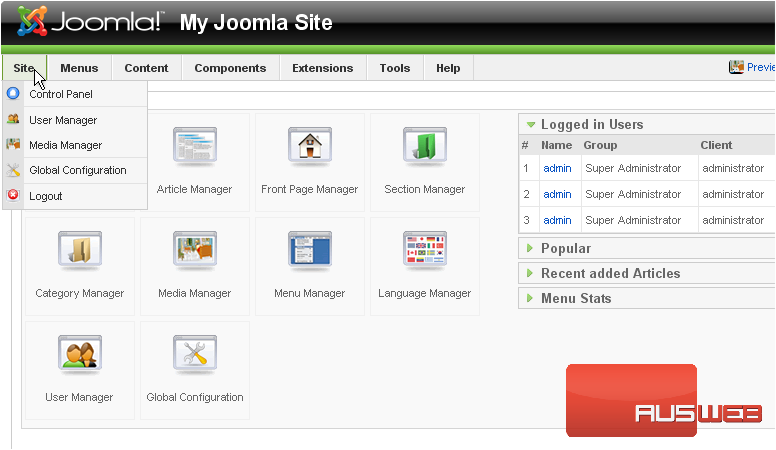
2) Then Global Configuration
3) Go to System
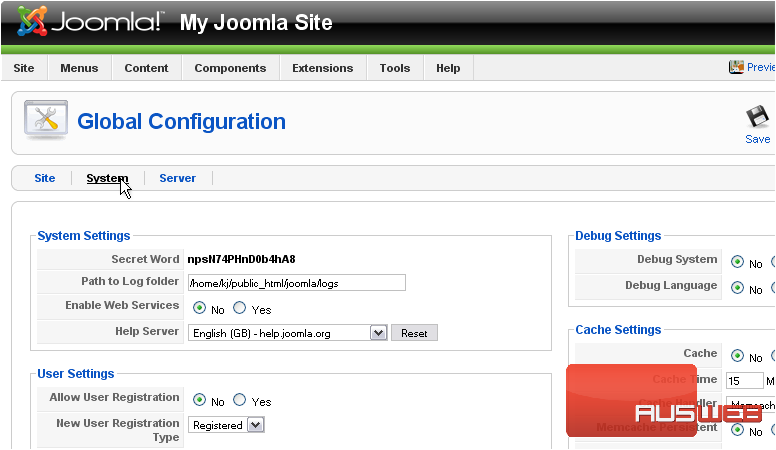
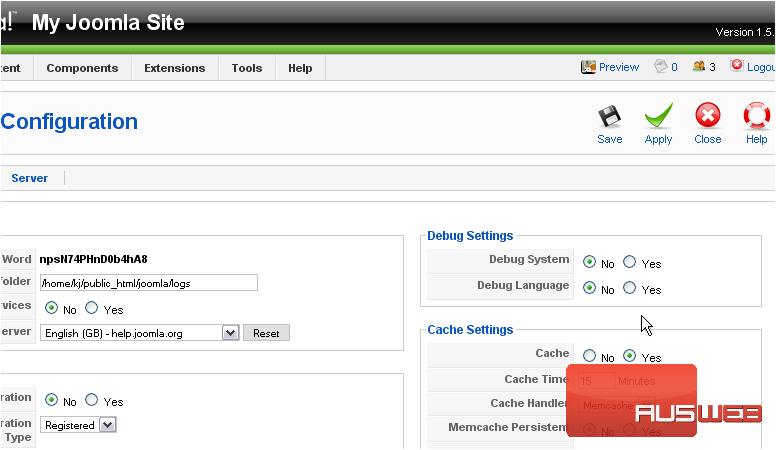
Scroll down and right to the Cache Settings
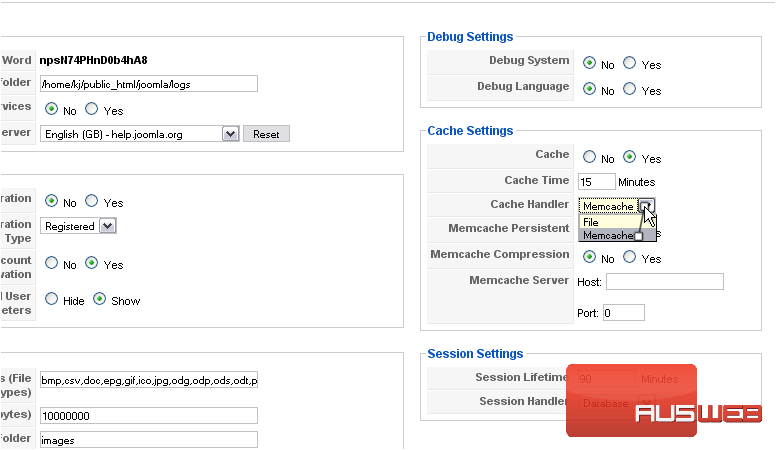
4) Click Yes next to Cache to enable caching

Cache Time controls how frequently, in minutes, the cache is refreshed. The default of 15 should be okay
5) Choose a Cache Handler from the list. The default is Memcache, but that might not be installed on your server. Choose File if it isn’t
Persistent connections to a server such as Memcache are kept open constantly and can sometimes provide a boost in speed. This is especially useful when connecting to a server that isn’t located on the same computer as your website
If Joomla slows down after you enable caching, try turning on Memcache Persistent
Enabling Memcache Compression might also provide a performance boost

Lastly, enter the host and port where your memcache server is running. The default is localhost:11211. If this isn’t the case for you, or you just aren’t sure, contact Support
6) Type localhost
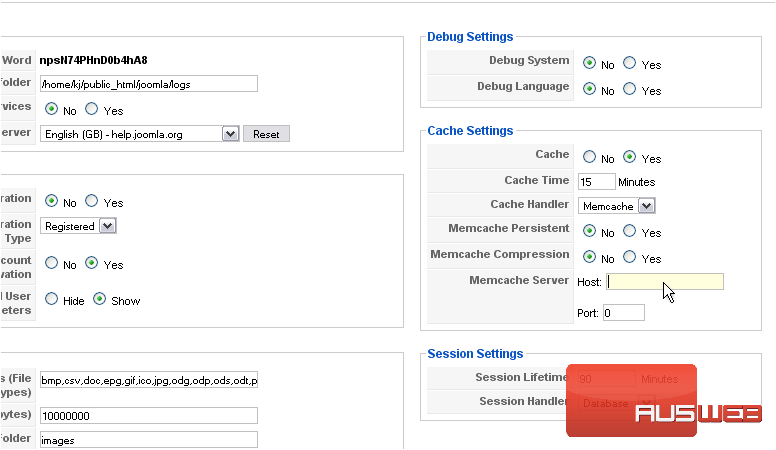
7) Now type 11211

Now, let’s scroll back up and save these settings
8) Click Save
Caching has now been enabled! If you have problems with Memcache, remember you can always change the cache handler to File.
