How to create menus in Drupal
This tutorial will show you how to create menus in Drupal
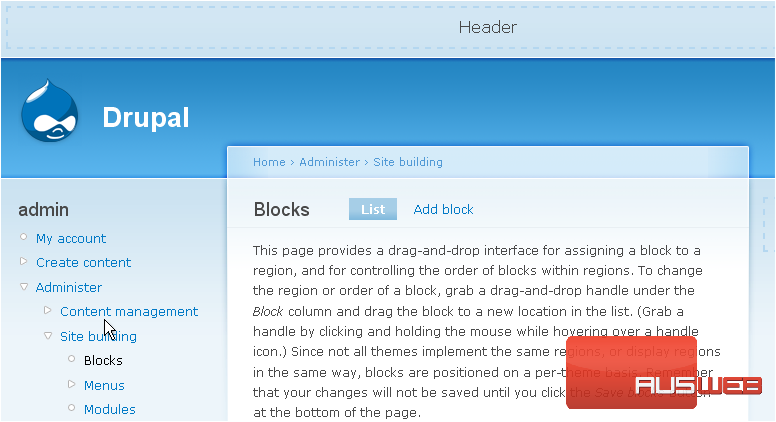
1) Click the Administer link
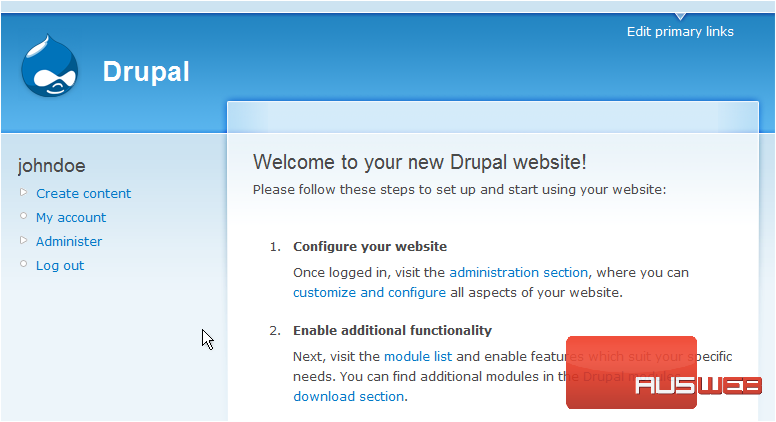
Now let’s learn how to create a new menu
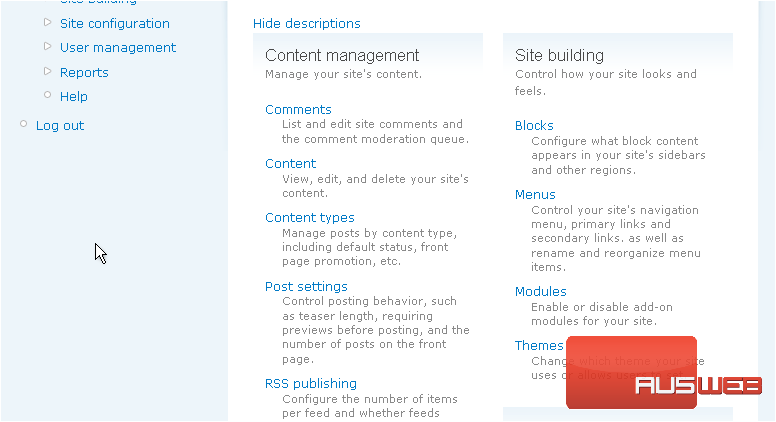
2) Click the Menus link
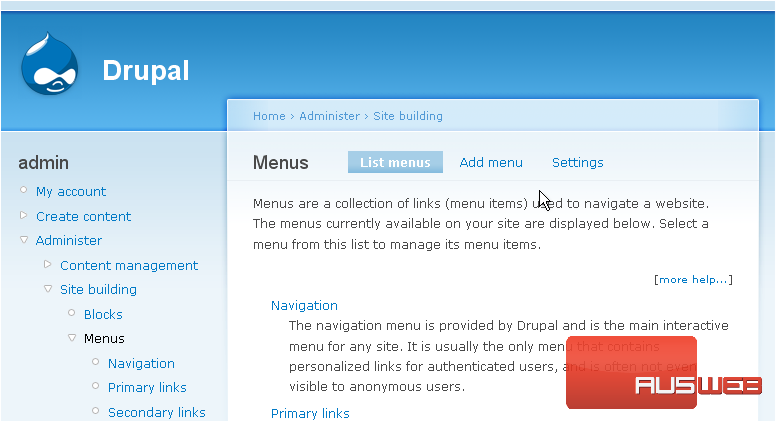
3) Then click Add Menu
4) Enter a Menu Name here… it must contain all lowercase letters and have no spaces
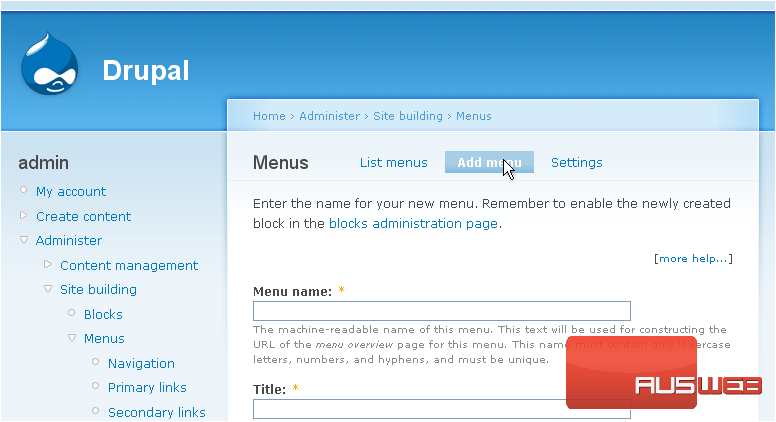
5) Then enter the title of the new menu here
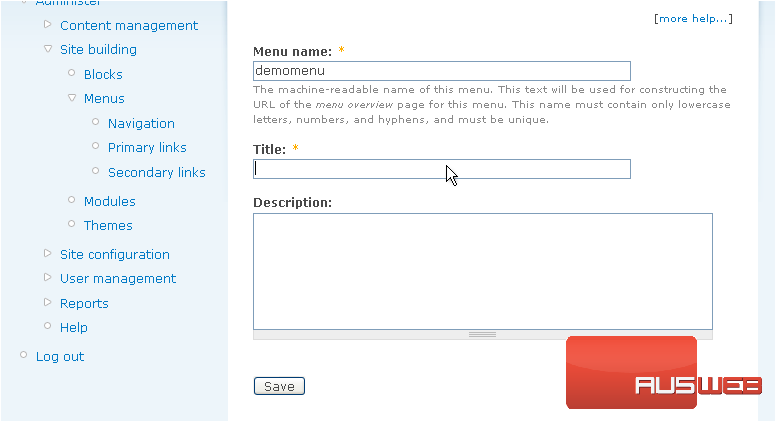
6) Click Save when ready
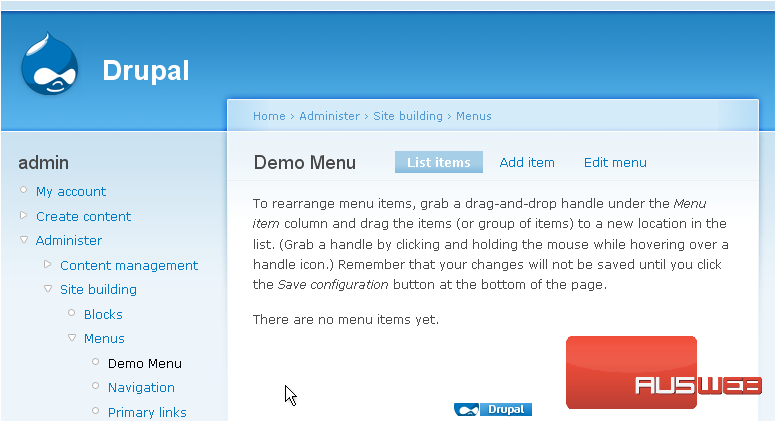
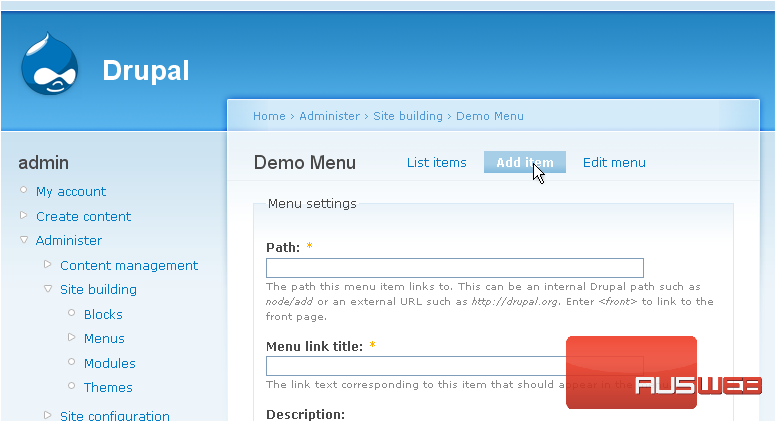
7) Now let’s add items to our menu
8) Enter the path this menu item links to
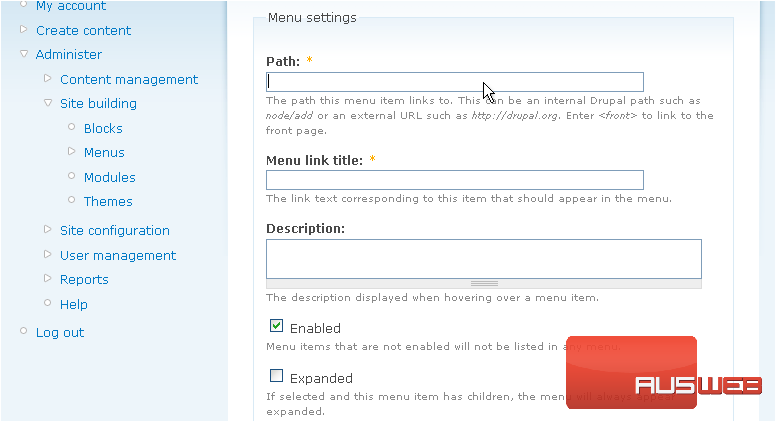
9) Then enter a menu link title

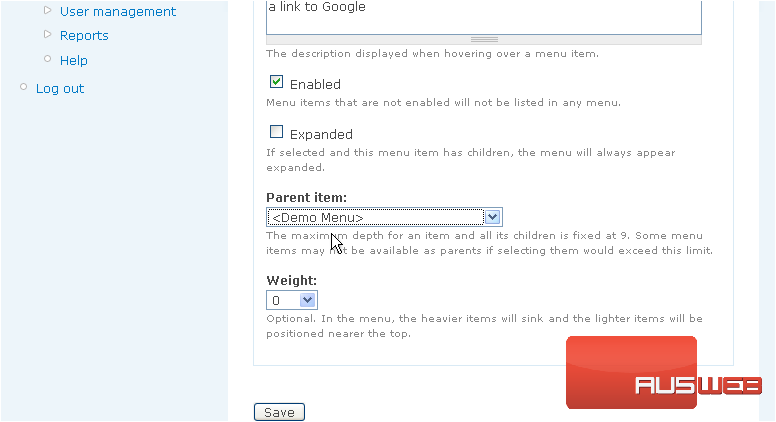
10) You can optionally enter a description

11) Make sure you have the proper menu selected as your parent item
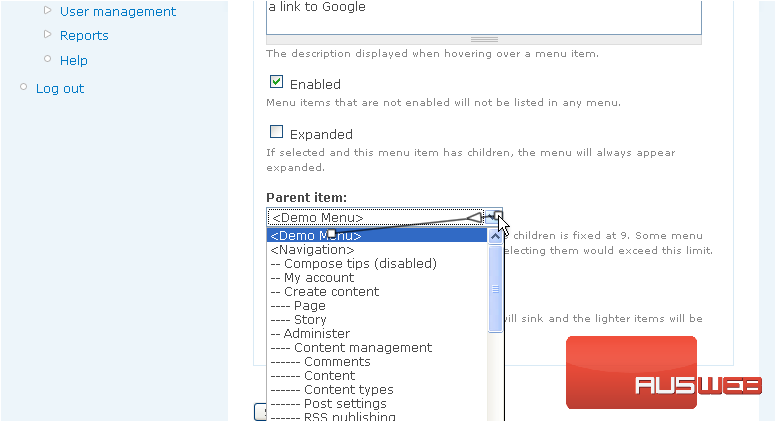
12) Click Save when ready
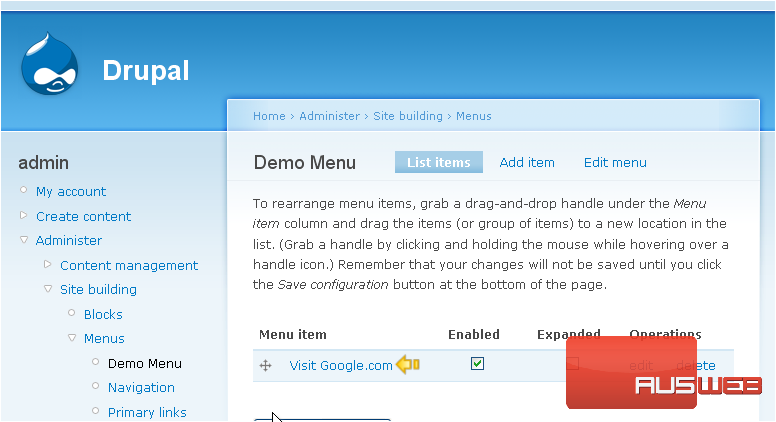
Our new menu item has been created, which you can see here
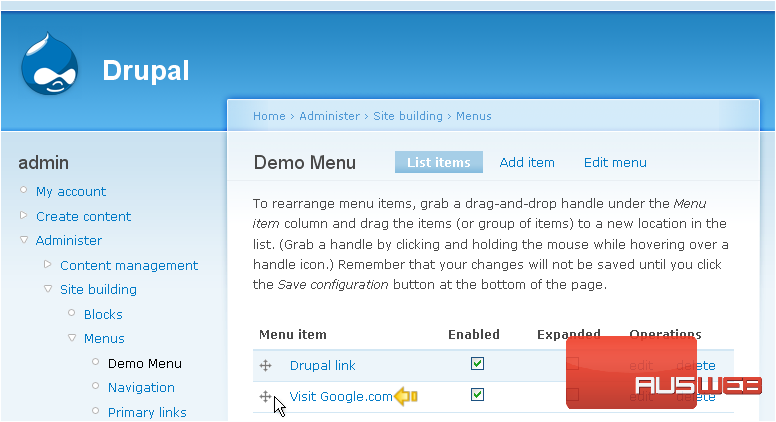
13) Let’s repeat the process and add a second menu item
There it is!
In order for the new menu to show up in your website, you must create a new block for it, and configure where it should go
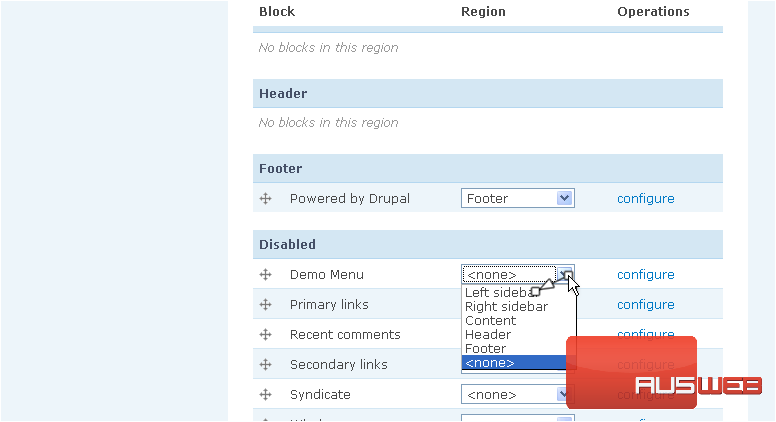
14) Locate the Demo Menu, and enable it by configuring its location
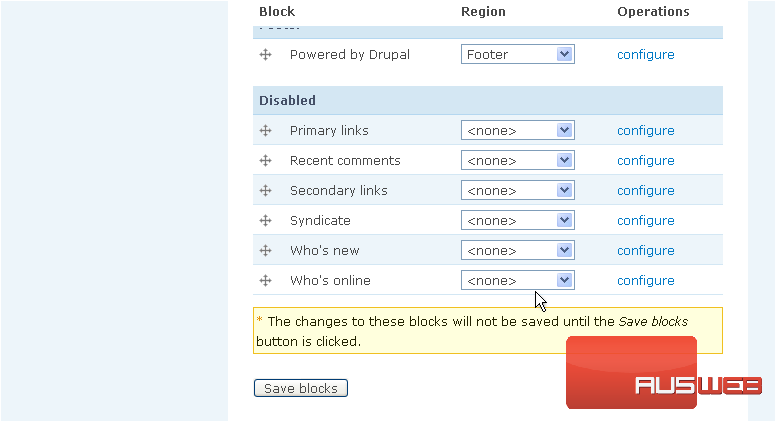
15) Be sure to click Save blocks to save our configuration
There it is! The new menu we just created, along with the two menu items
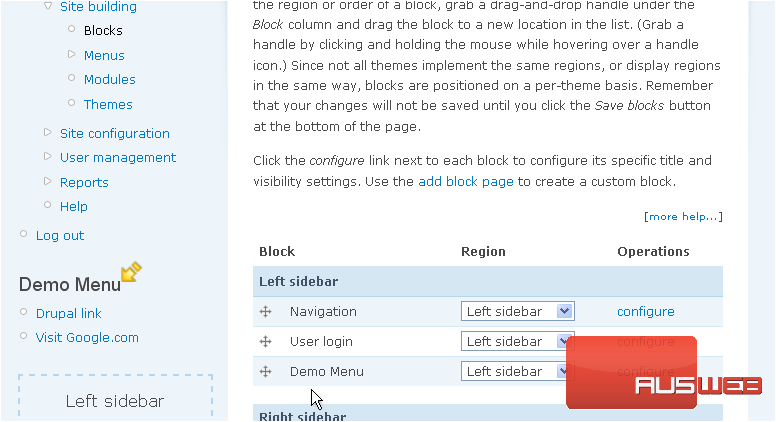
This is the end of the tutorial. You now know how to create menus in Drupal. Remember that you have to enable the menu block after creating it
