Change a site’s IP address in WHM
This tutorial will show you how to change a site’s IP address in WHM
By default, all accounts on your server will share the same IP address — your server’s main IP. You can assign an account a dedicated IP address, if you wish, or move an account from a dedicated IP address to the shared IP.
1) To do that, go to Account Functions.
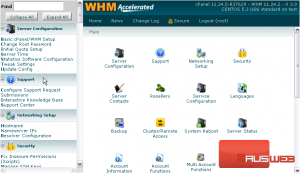
2) Click Change Site’s IP Address.

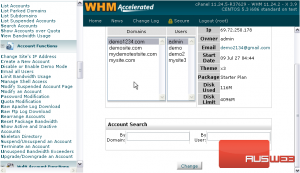
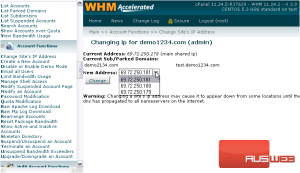
3) Select an account using the domains and users in the list, or search for an account below.
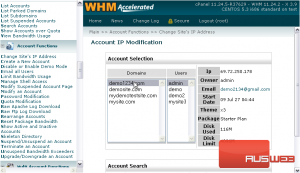
4) Click Change.
As you can see, this account’s current address is the server’s main shared IP.
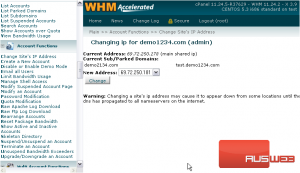
5) Let’s give it a new address. Choose an IP address from the list.
Take note of the warning. Changing a site’s IP address may cause it to appear down from some locations until the change has propogated across the entire Internet.
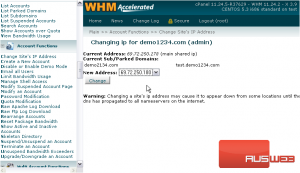
6) To finish, click Change.
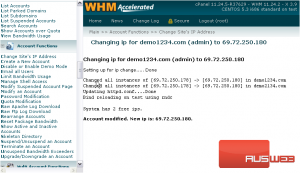
It may take a moment for the IP address to be changed.
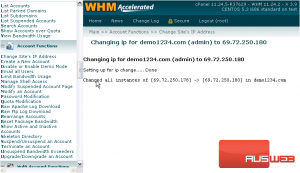
Success! The account’s IP address has been changed.
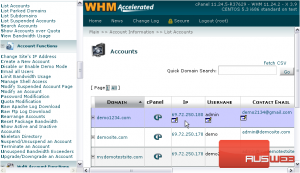
You can also change a site’s IP address from the List Accounts page.
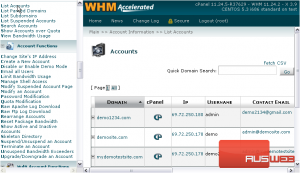
7) Hover over the account’s row.
An edit button will appear underneath the IP address, allowing you to access the same form we just used.
This tutorial is now complete. You now know how to change a site’s IP address in WHM.
