Change your MX records / email provider via cPanel
This tutorial describes how to change your MX records via cPanel and will walk you through the process so they point email to a different email server. MX records are a critically important part of a web site’s DNS because they tell the rest of the Internet where to send e-mail for a domain.
There are many uses for MX records but one of the more common uses is where you have one server handle your website and another handle your email, such as cPanel for the site and a Windows machine with Microsoft Exchange for mail if you want. You can also have multiple MX records so mail can go to more than one server and order them in priority by number, where the lowest number receives the mail first.
Now that we’ve got those basics covered, lets explore a couple of examples.
Changing your change your MX records to a new provider
This tutorial assumes that you are already logged into cPanel.
Here we will go through the steps of changing your MX records and email provider over from your webserver to Google Apps (Gmail). Then we will outline the steps to set up MX records for a separate mail server such as Exchange.
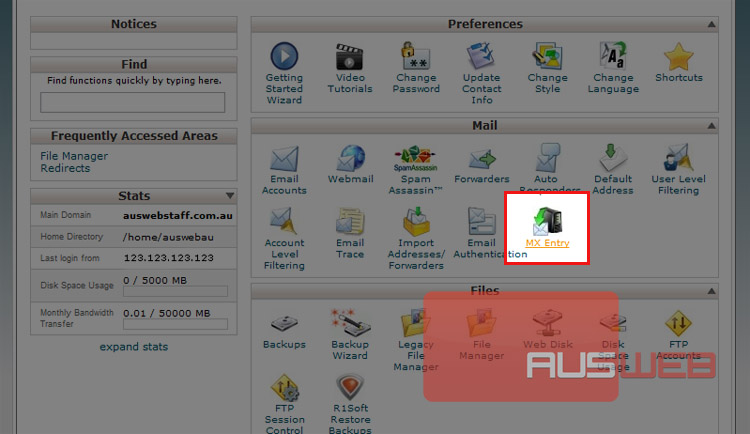
1) Click on the MX Entry shortcut under the Mail subheading on the cPanel Home screen.

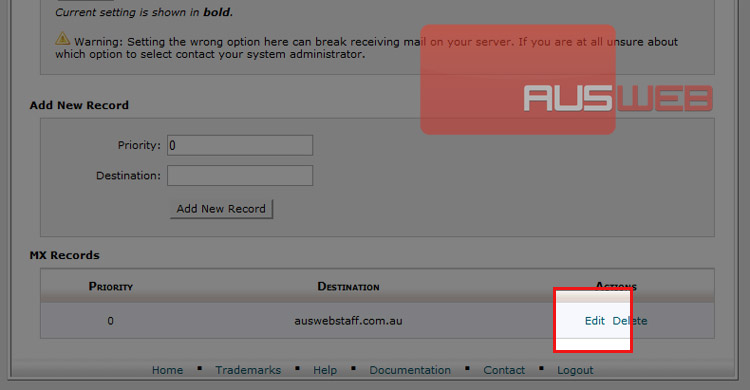
2) Make sure the email routing is set to “Automatically Detect Configuration”
3) Now scroll down to the bottom of the page and click Edit next to your existing MX record. This assumes that you are wanting to set Gmail as the primary mail server. If this is not the case you should fill out the required fields and click Add New Record instead.
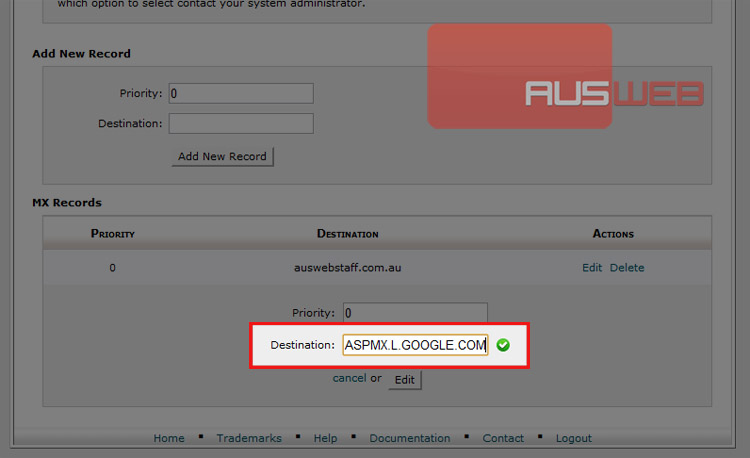
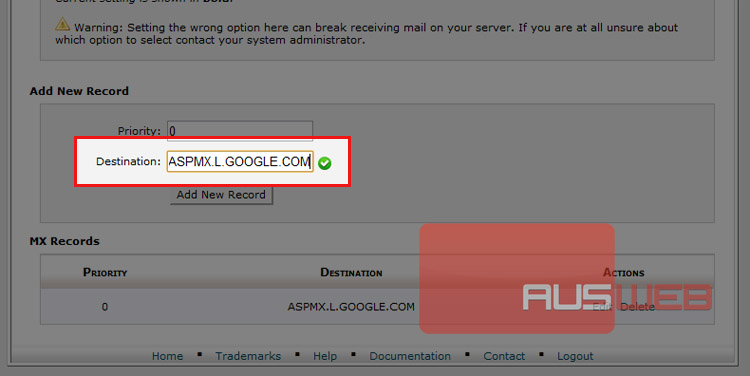
4) You will need to obtain the host name(s) of the server(s) that you want to handle your mail. In this case we want to use ASPMX.L.GOOGLE.COM obtained by searching google.com for “google apps mx record values”. We will leave the priority at “0” since we want this server to be our primary mail server.
5) Now fill in the Destination field with the name of primary server that you want to use, in this example we will use “ASPMX.L.GOOGLE.COM”.
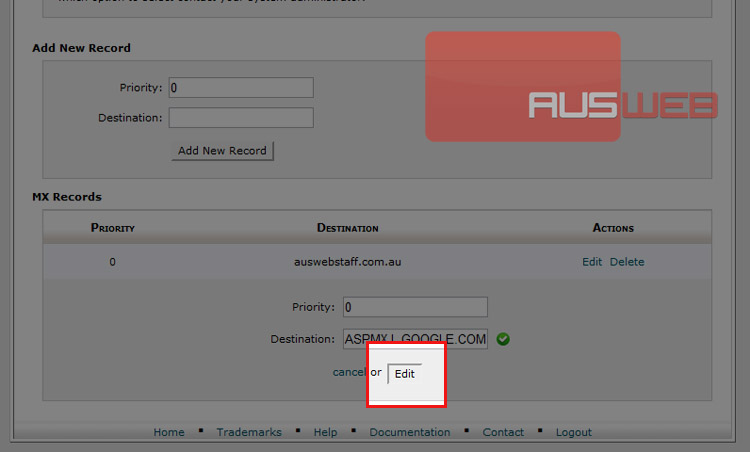
6) Click the Edit button to complete.
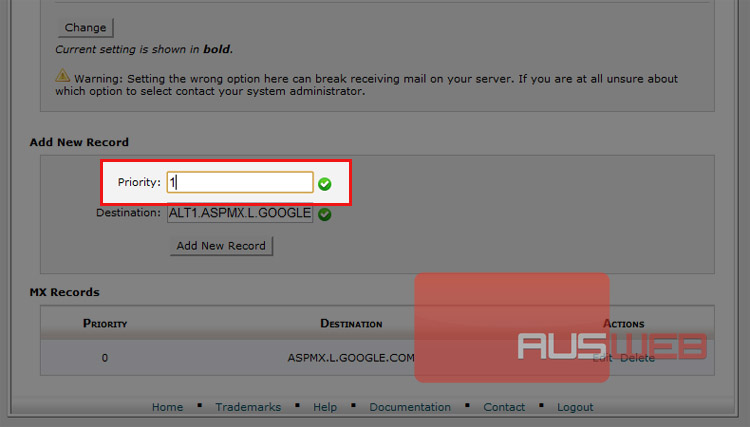
7) Now we will add the MX records for additional servers. Fill in the Destination text box with the secondary server. In this case the hostname is ALT1.ASPMX.L.GOOGLE.COM
8) Set the priority of this server. Lower number means higher priority, with 0 being the highest priority. Since we are adding a secondary server we will set the priority to 1.
9) Now click the Add New Record button to save changes.
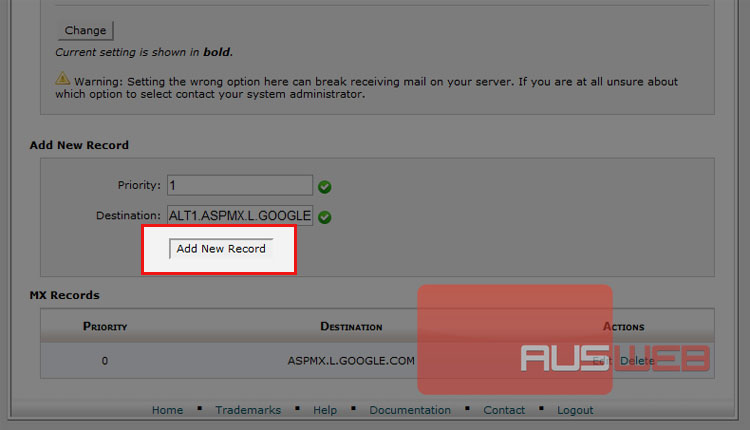
10) To add additional servers repeat steps 7-9. Remember to increase the priority number by one for every additional server.
That’s it! we have now successfully changed email providers to Google Apps.
Setting up MX records to point to a single external mail server
Now we will guide you through the steps of redirecting your email to a separate mail server such as Microsoft Exchange. Use this part of the tutorial if you have a mail server running on a separate server to your cPanel server.
MX records can’t point to an IP address, they must point to a domain or host name. To get around this we will setup an A record to redirect exchange.mydomain.com to the IP address of our server, in this case 192.168.0.1.
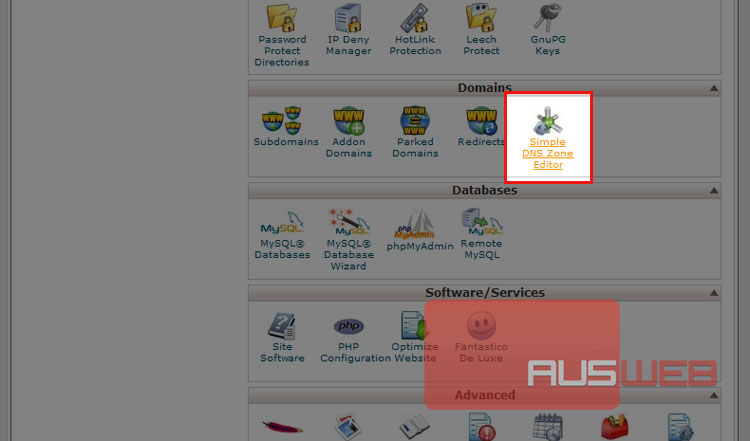
11) From the cPanel home screen click on Simple DNS Zone Editor under the Domains section.
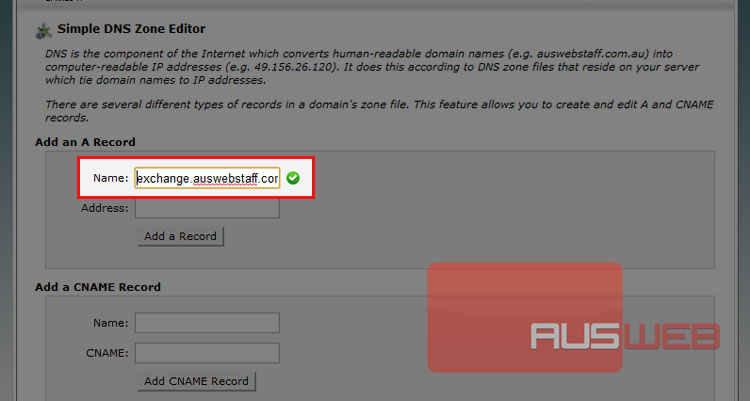
12) Fill in the name of the mail server under the “Add an A record” section. In this case it will be exchange.auswebstaff.com.au.
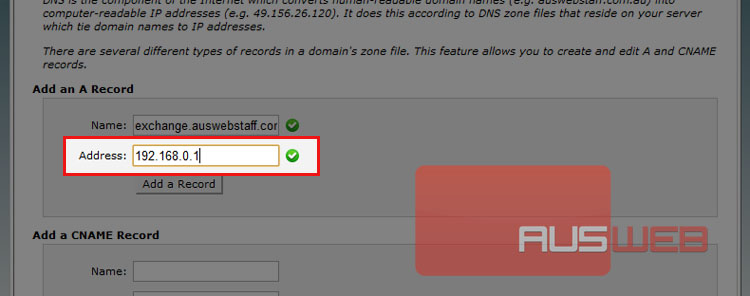
13) Now enter the IP address of your mail server in the address field. In this case it is 192.168.0.1.
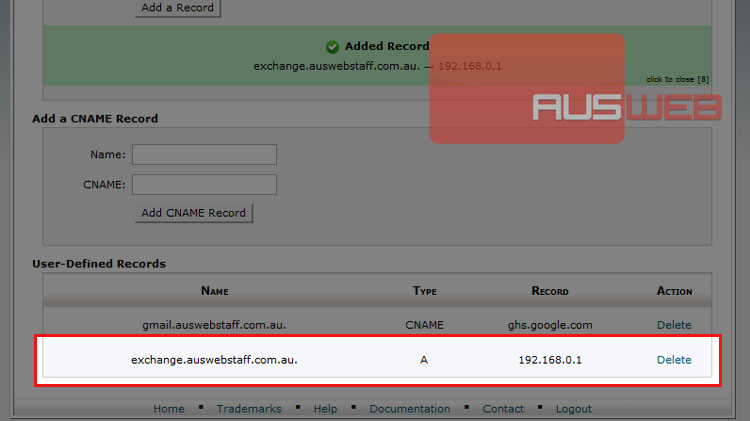
14) Click Add Record to complete. Scoll down and you should see your new entry at the bottom of the page
15) Now click on the Home icon at the top left of the page.

16) Click on the MX Entry shortcut under the mail section.
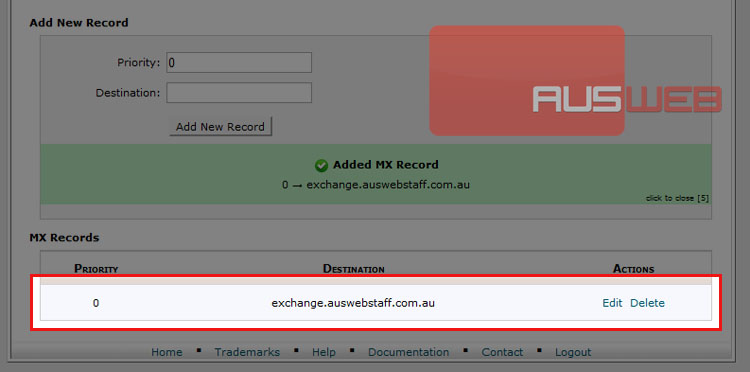
17) Under the Add New Record section put in the hostname of the server that you just created an A record for, in this case “exchange.auswebstaff.com.au”. 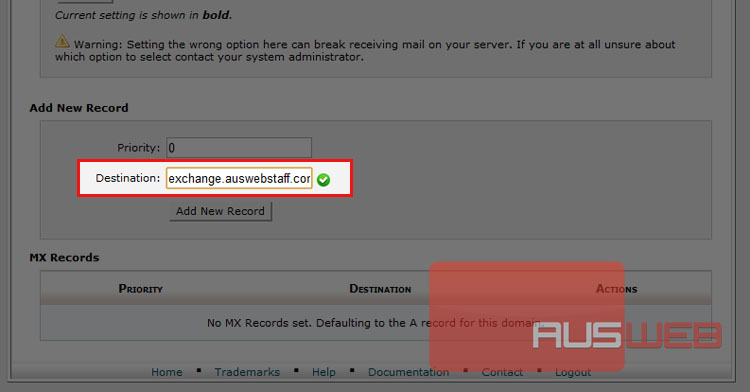
18) As this will be the primary mail server, leave the priority set to 0. Now click the Add New Record button.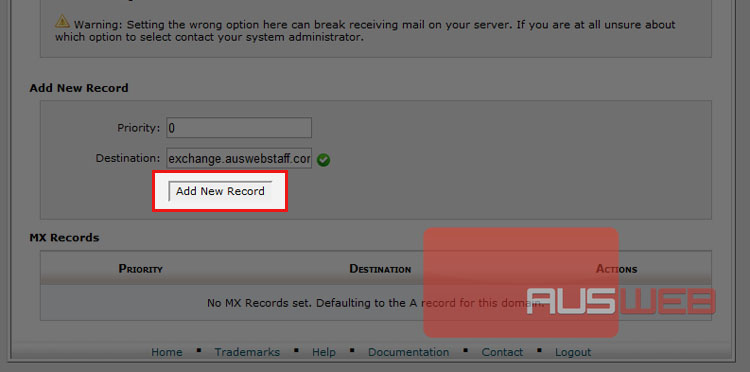
19) That’s it! You should now be able to see the entry you just created at the bottom of the page, and all your mail should now be directed to your separate mail server.