Add Products in Prestashop
This tutorial will show you how to add products in PrestaShop
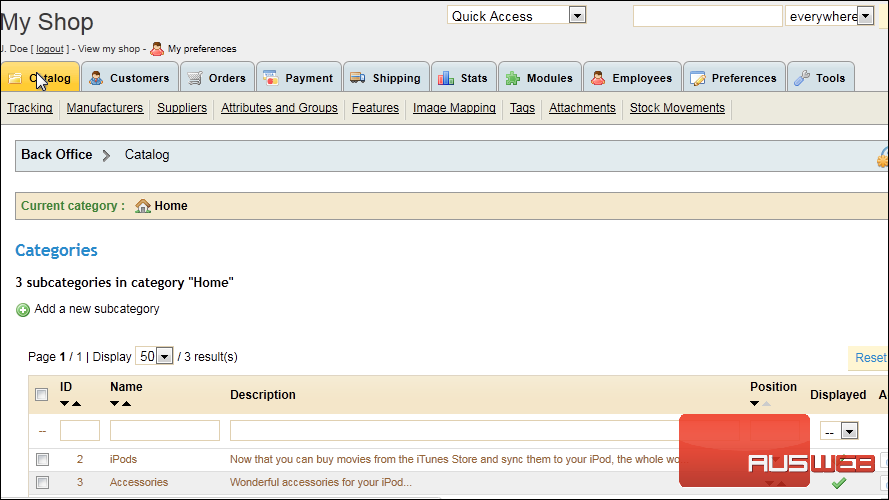
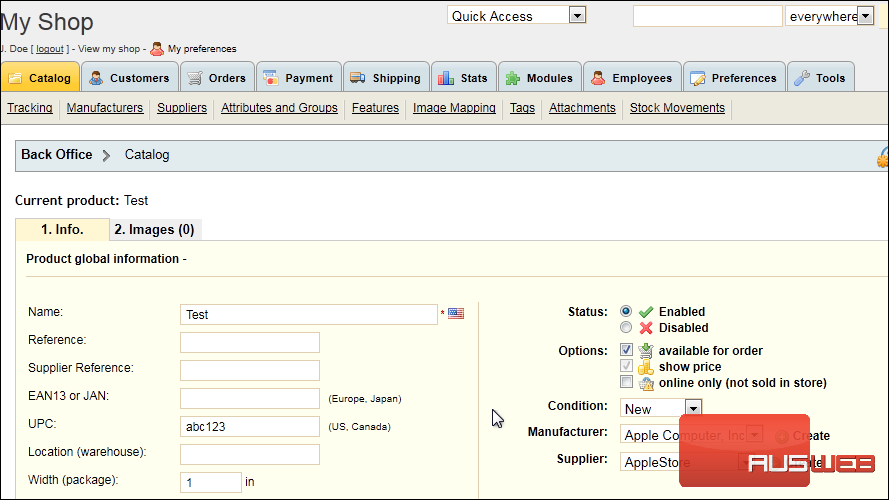
1) Go to Catalog.
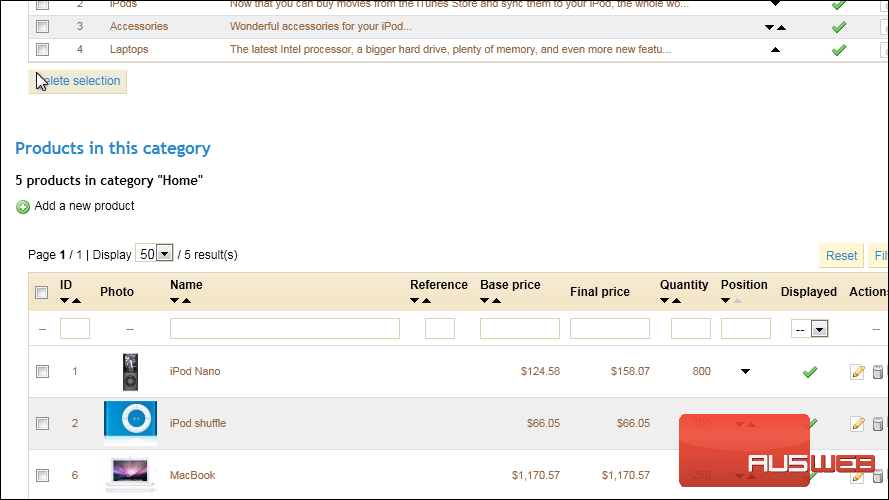
2) Scroll down to products.
3) Click Add a new product.
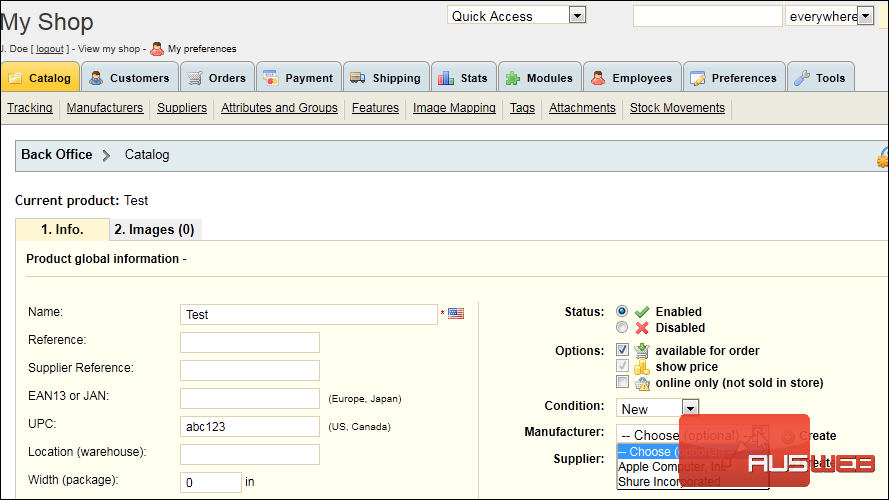
4) Enter the product Name.
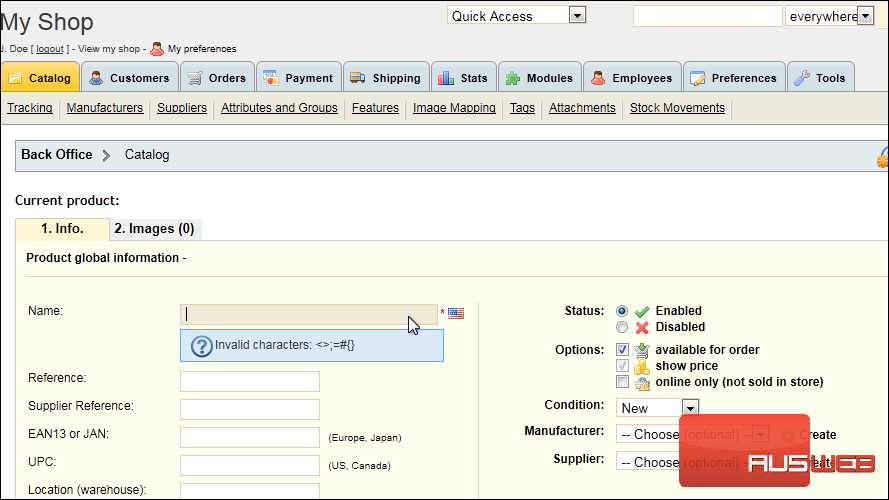
5) Type the UPC here.

6) Choose the Manufacturer and Supplier from these dropdowns.
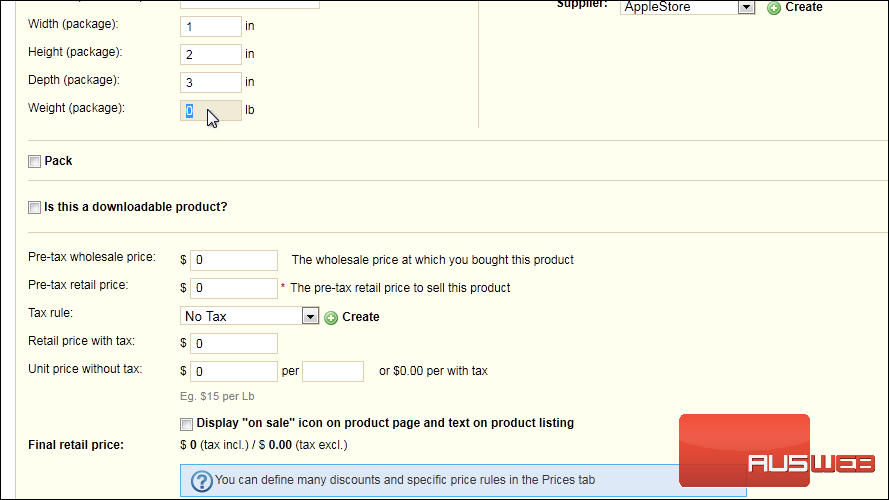
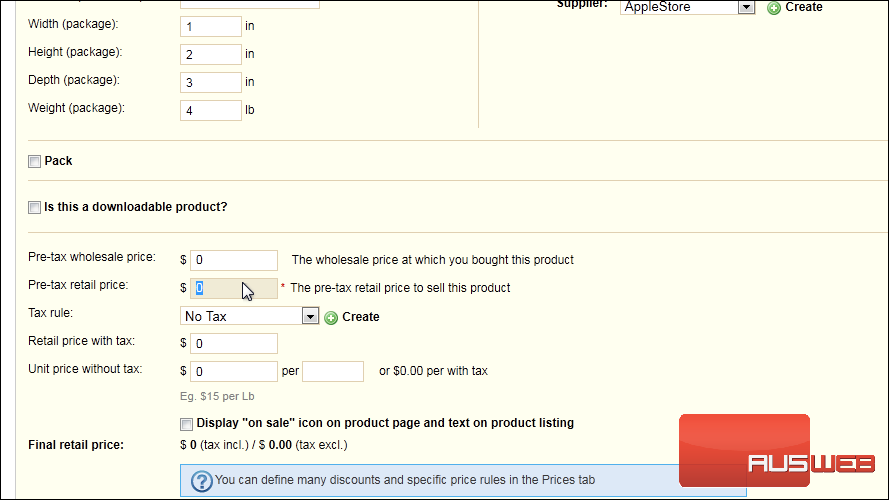
7) Enter the product dimensions in width, height, and depth.
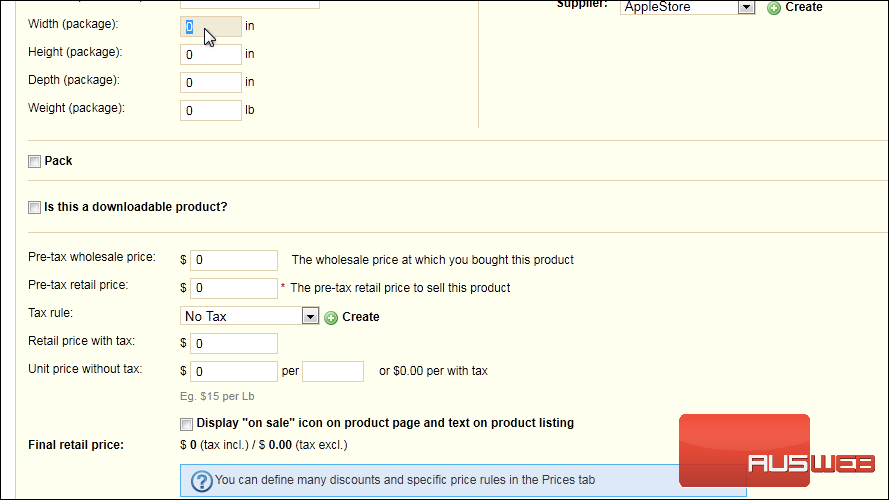
8) Enter the product’s Weight.
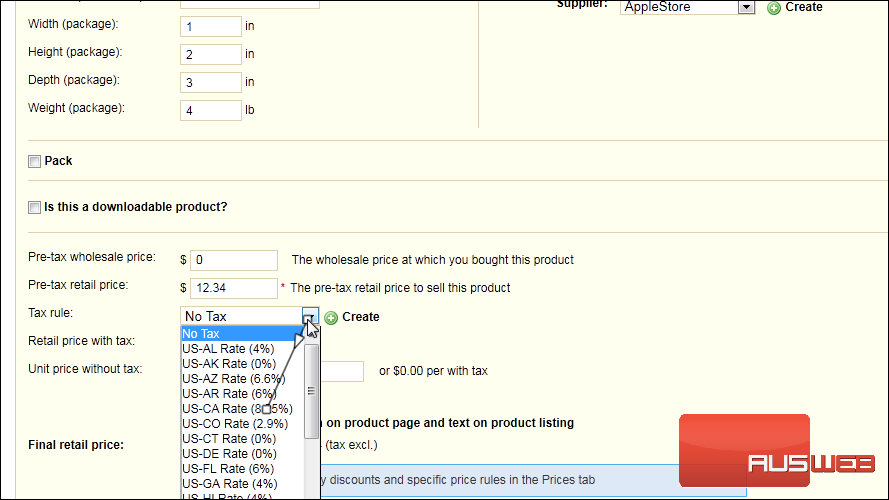
9) Enter the product’s retail price before tax.
10) Choose the Tax Rule that should be used.
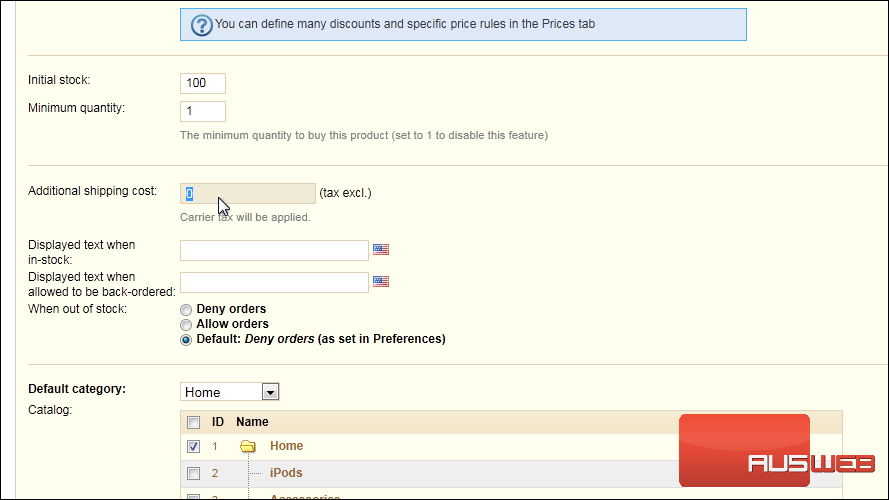
11) Set the Initial Stock.
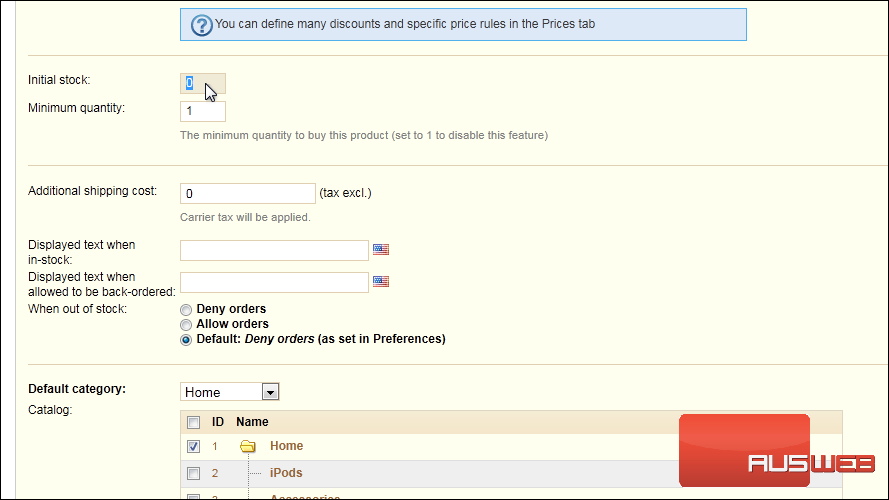
12) Enter the Additional Shipping Cost here.
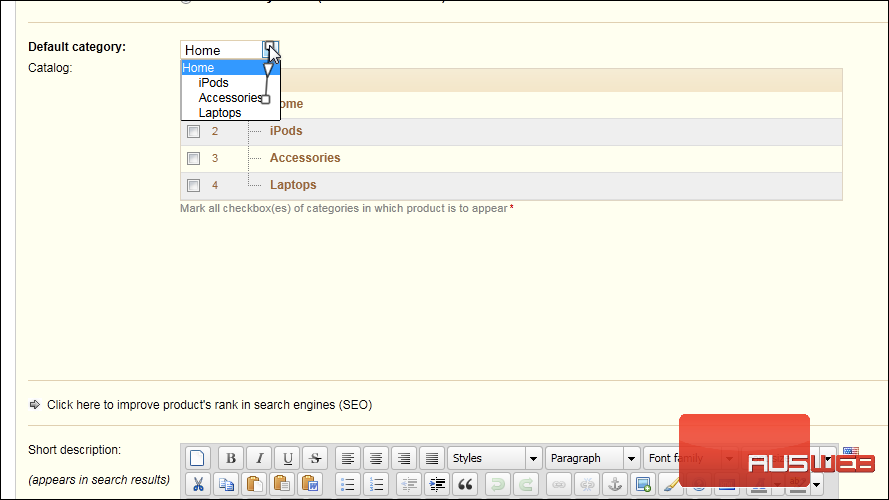
13) Set the default category or select the boxes next to all the categories where this product belongs.
14) Enter a Short Description that will appear in search results.
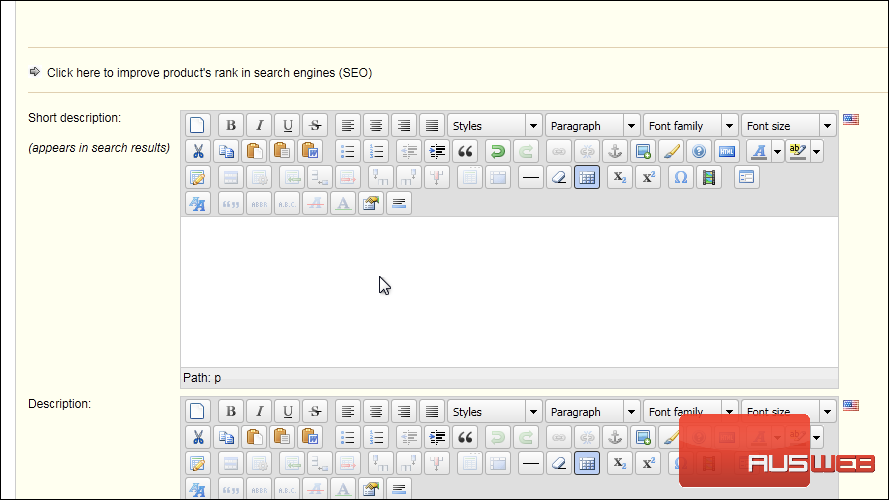
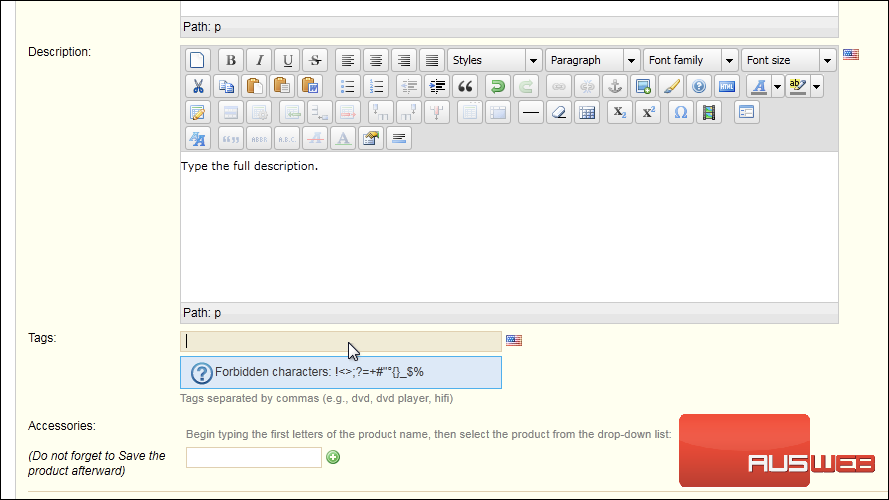
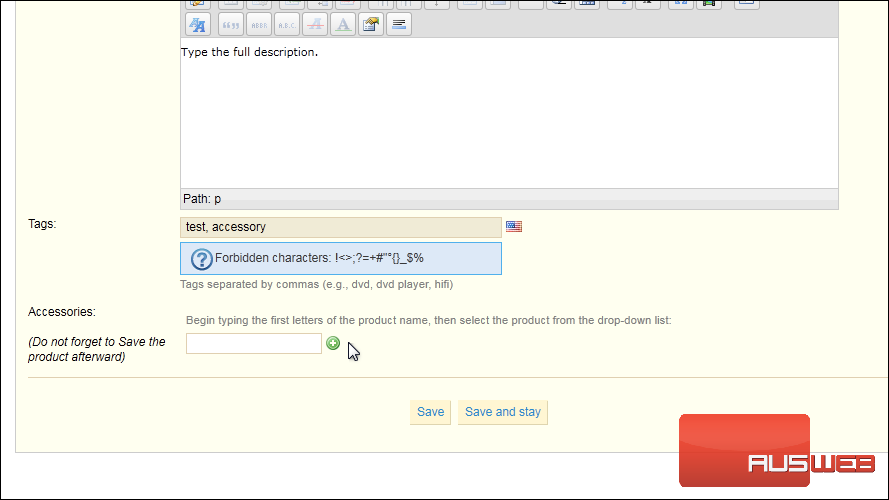
15) Type the product’s full description.
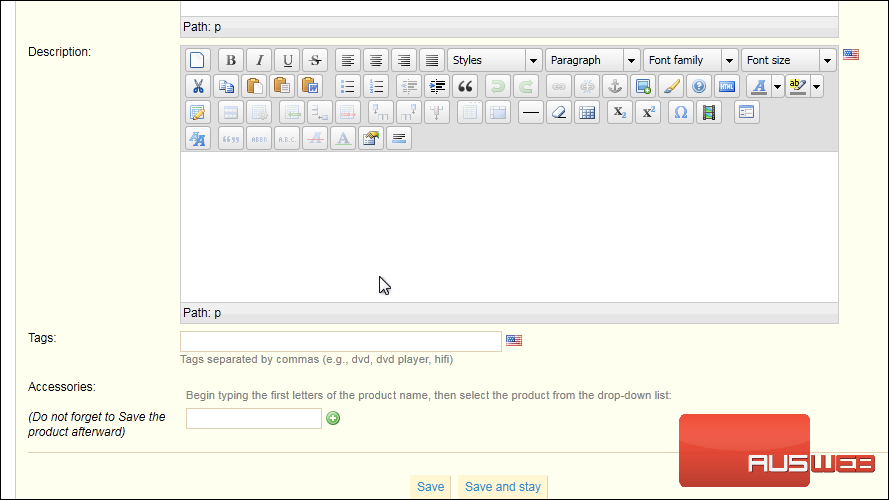
16) Enter Tags separated by commas.
17) Click Save to save the product and return to the main page or Save and Stay to remain on this page.
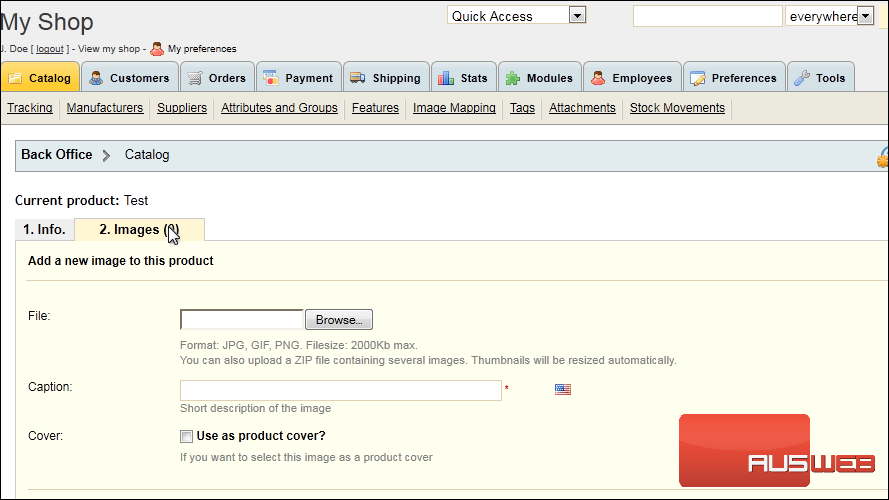
18) Scroll back up to the top of the page.
19) Click the Image tab.
This is where you can upload images for your product.
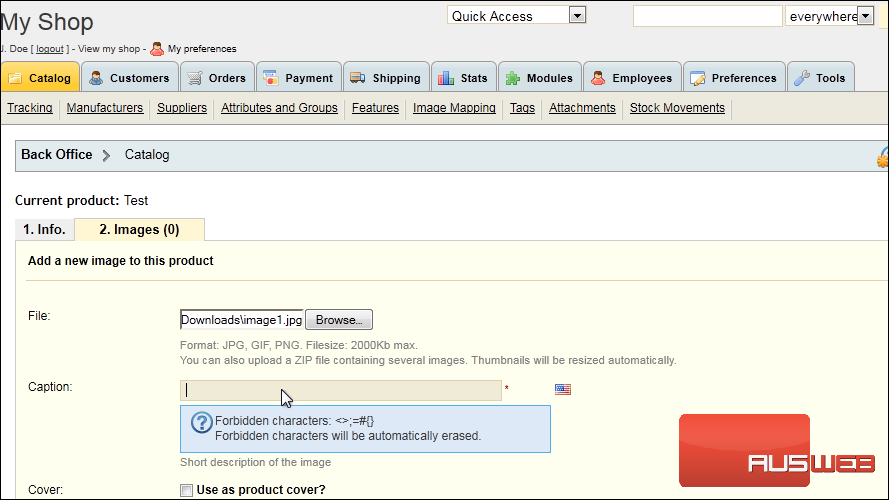
20) Click Browse.
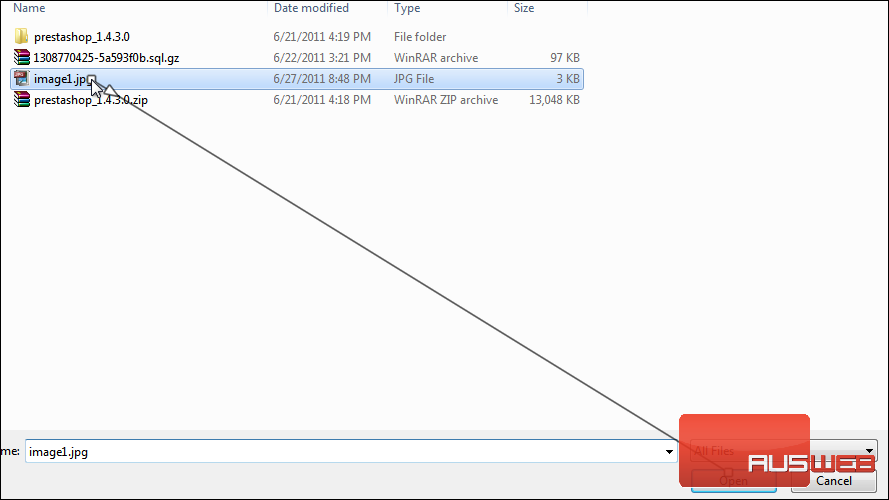
21) Select your image and click Open.
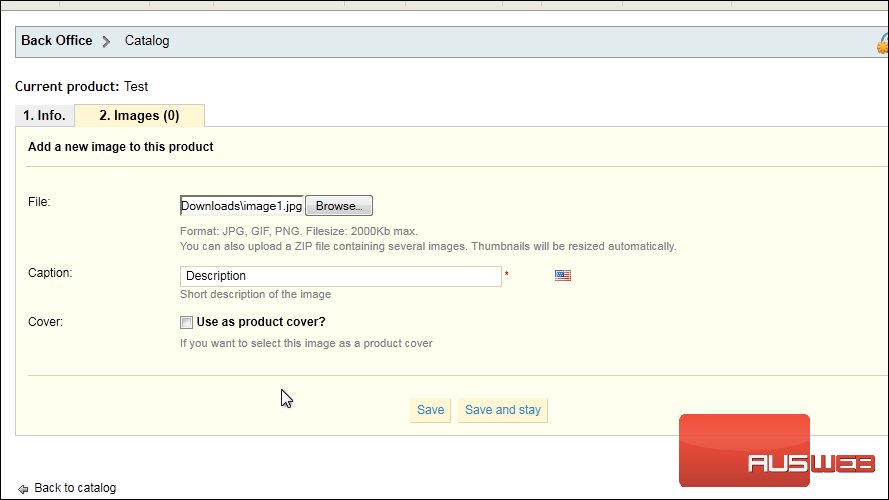
22) Type a short description for the caption.
23) Click Save.
That’s it! Now you know how to add a product in PrestaShop.
