How to install Applications in Plesk
This tutorial will show you how to find and install Applications in Plesk
Instead of manually creating files, writing the code, and developing a design for your website, you can install web applications that will accomplish most of these tasks for you. You can use the applications to add features to your site, such as a blog, photo gallery, online store, or you can base your site entirely on a single application, such as WordPress or Joomla.
1) Plesk comes with a built-in application installer that’s prefilled with a number of useful applications, and your hosting provider may have added even more. Click the Applications tab.
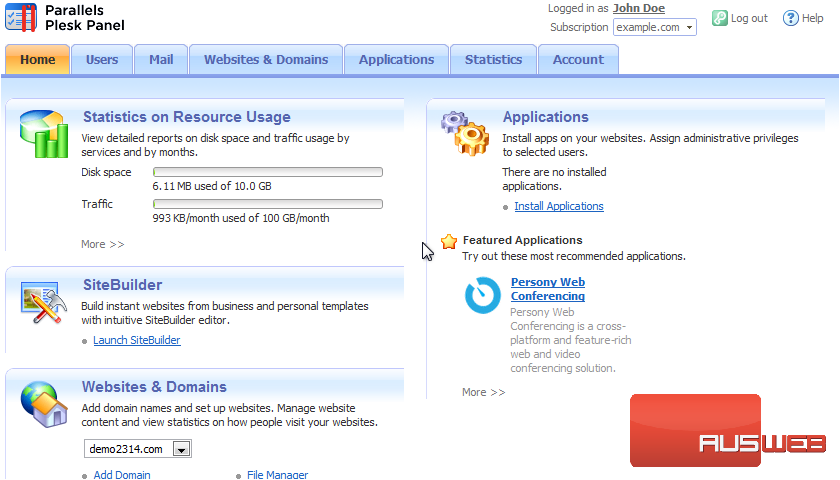
Featured Applications shows the most recommended and popular apps available for your websites.
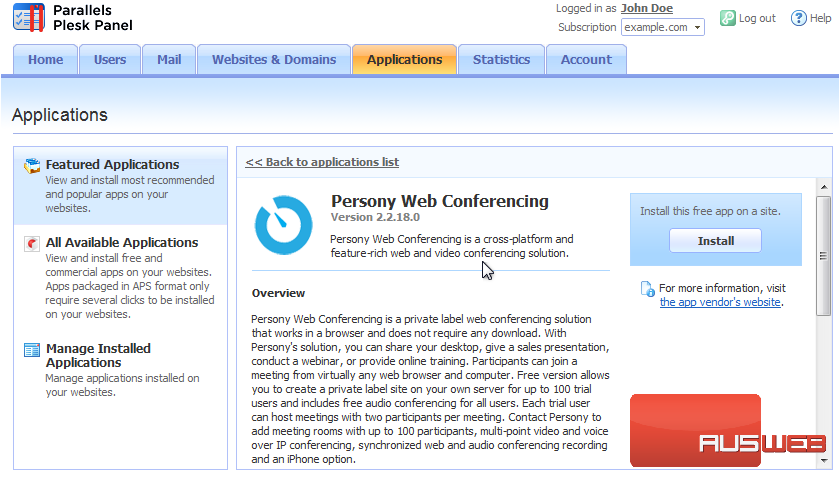
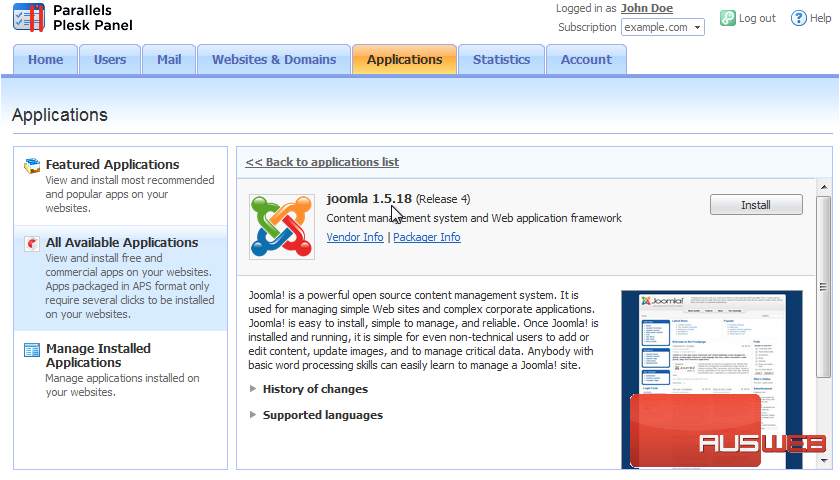
2) Select the Learn More button to read about this app.

3) Here, you can view more information about this application before you install it, which you can do by clicking the Install button to the right.
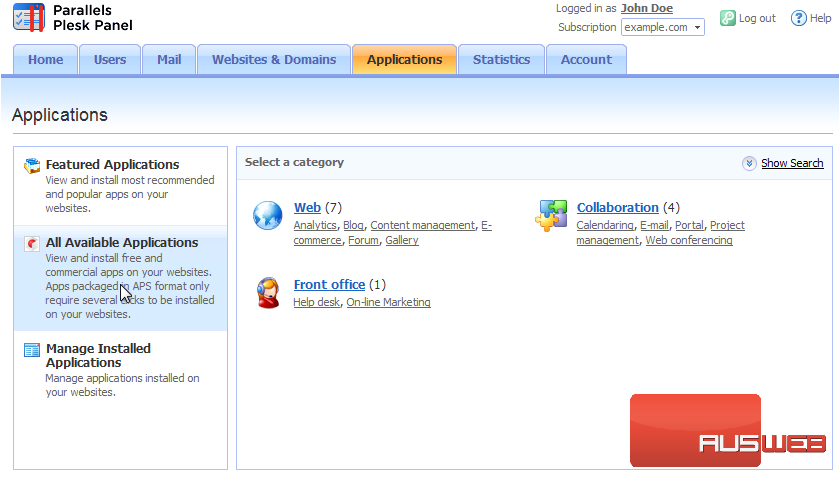
4) Go to All Available Applications. This section shows all the applications, both free and commercial, that are available to be installed. Select a category to view specific apps.
5) To refine the list, choose a sub-category.
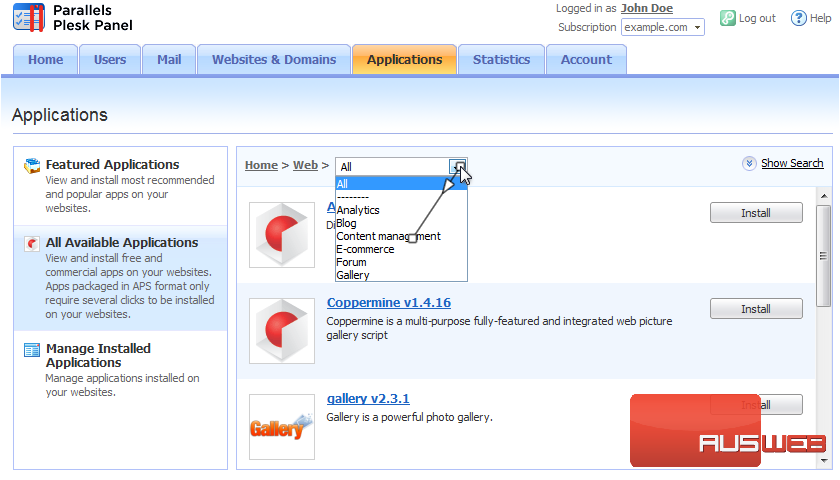
We can now view all the applications related to content management on the web.
6) Click an app’s name.
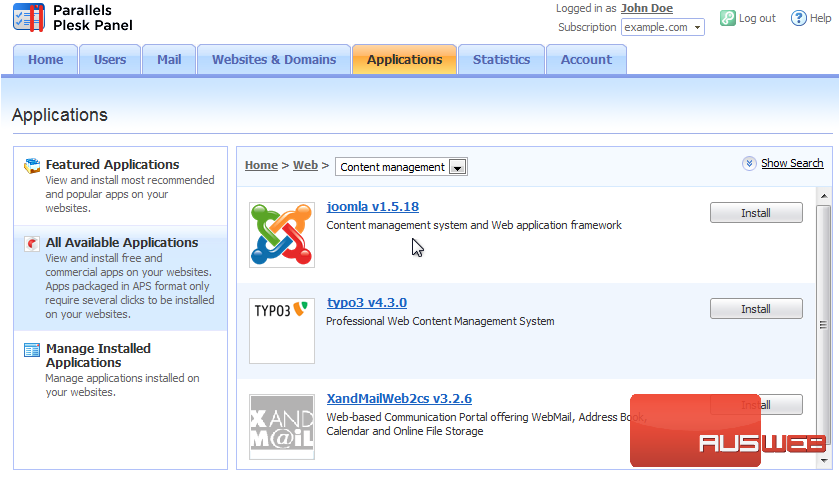
7) Let’s begin installing Joomla by clicking the Install button.
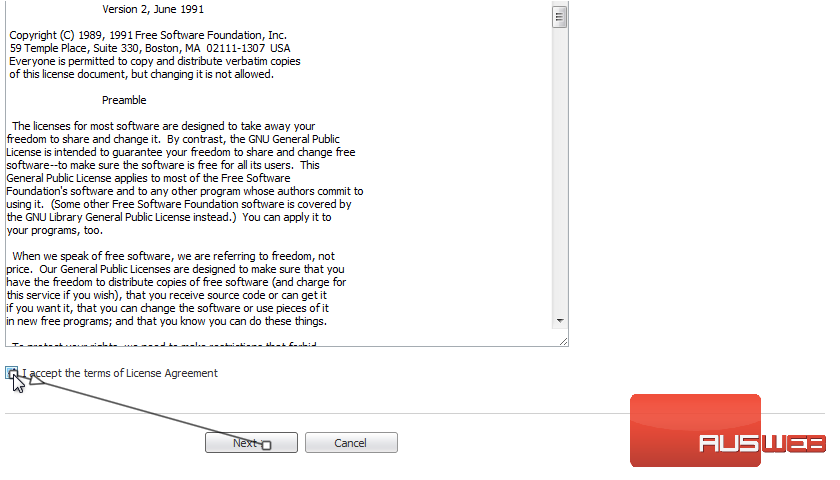
8) Now, you simply accept the terms and conditions, and wait for the system to load with your information.
Exactly what settings you’ll need to enter varies, but most applications will require you to enter the same basic information.

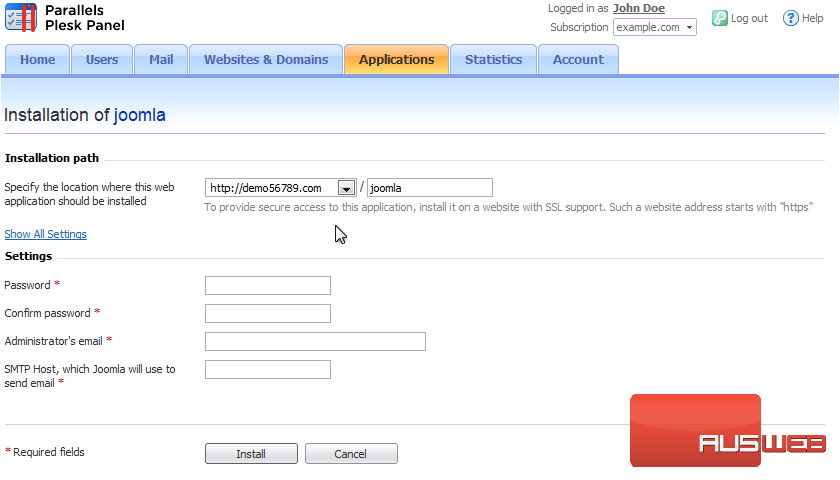
9) Set the location where the app should be installed.
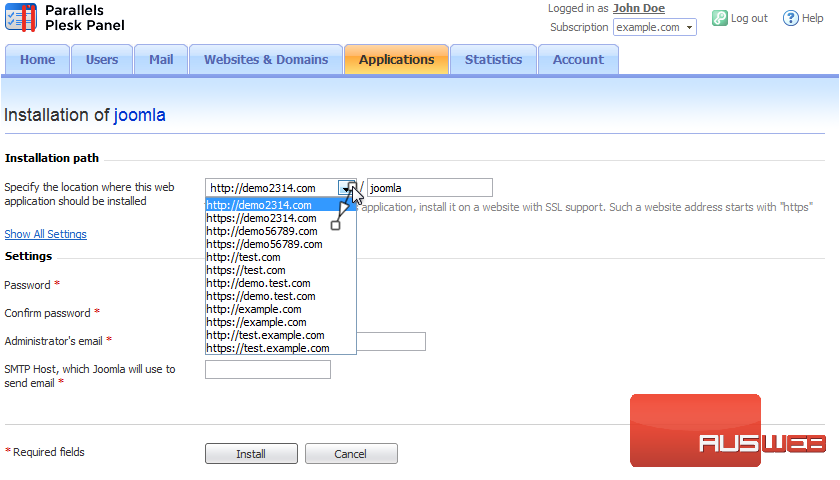
10) Click the Show All Settings link to expand all settings.
11) Enter the site Administrator’s information here.
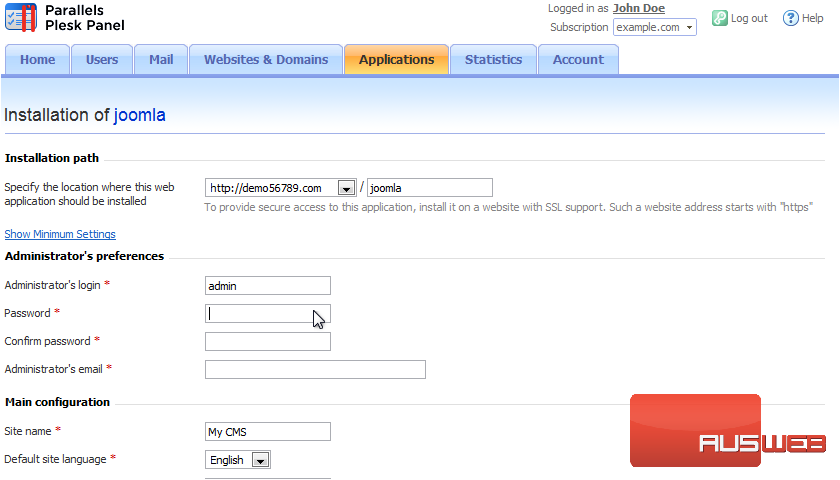
12) Type the site name.
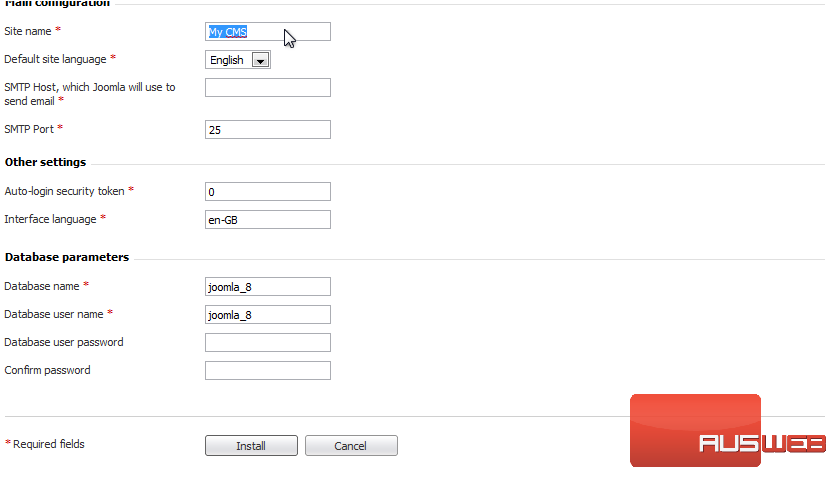
13) Enter the SMTP Host which Joomla will use to send e-mail. This is usually localhost.

14) The rest of the default settings for this application should be fine, so click Install.
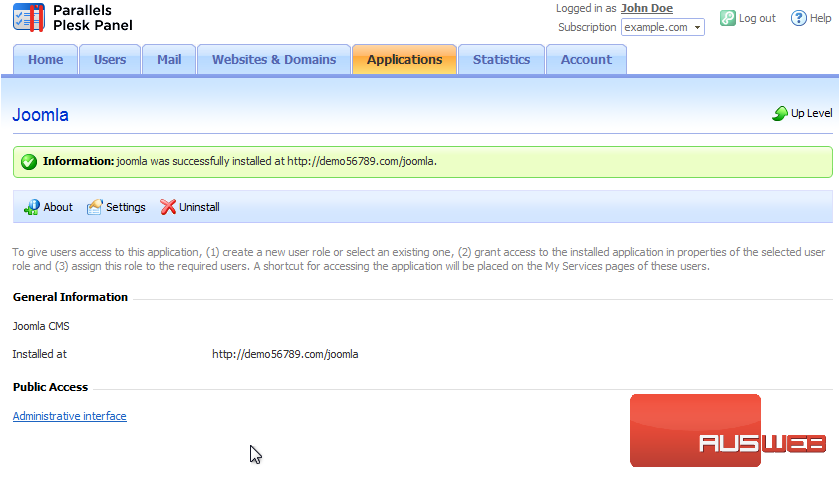
15) The application was successfully installed. Let’s return to the main Applications page.
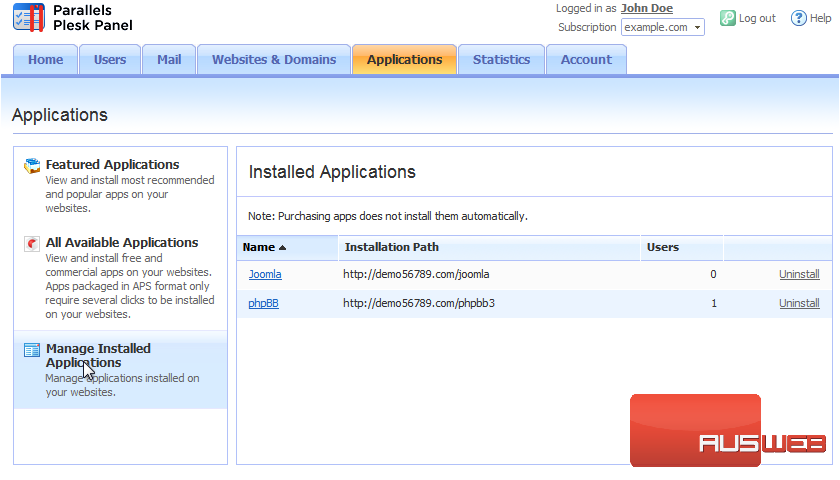
16) This time, go to Manage Installed Applications.

17) This screen lists all the applications you have installed. If you ever want to change an application’s settings or uninstall an application, this is where you would go. Click an application’s name.
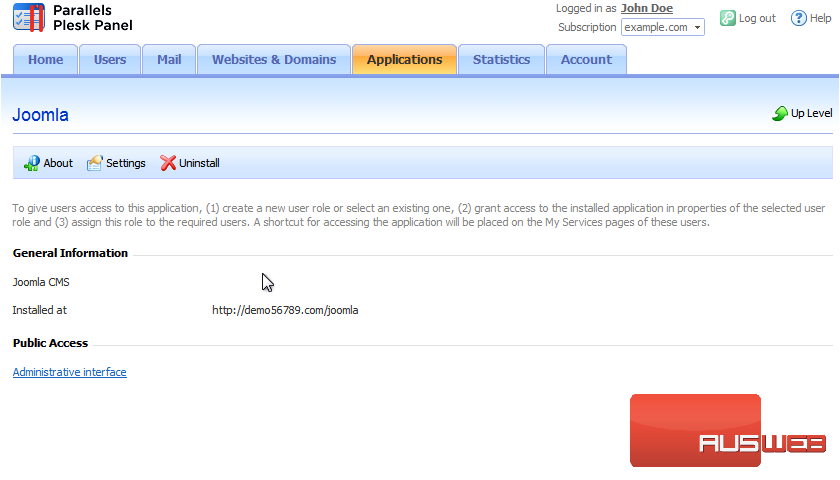
You can click the Administrative Interface link to view the admin interface. If you ever need to change the settings for this app installation, use the Settings button. To Uninstall an application, use the Uninstall button.
That’s it! Now you know how to find and install Applications in Plesk.
